
Applying a Handcuff Knot
By Lazarus Redmayne
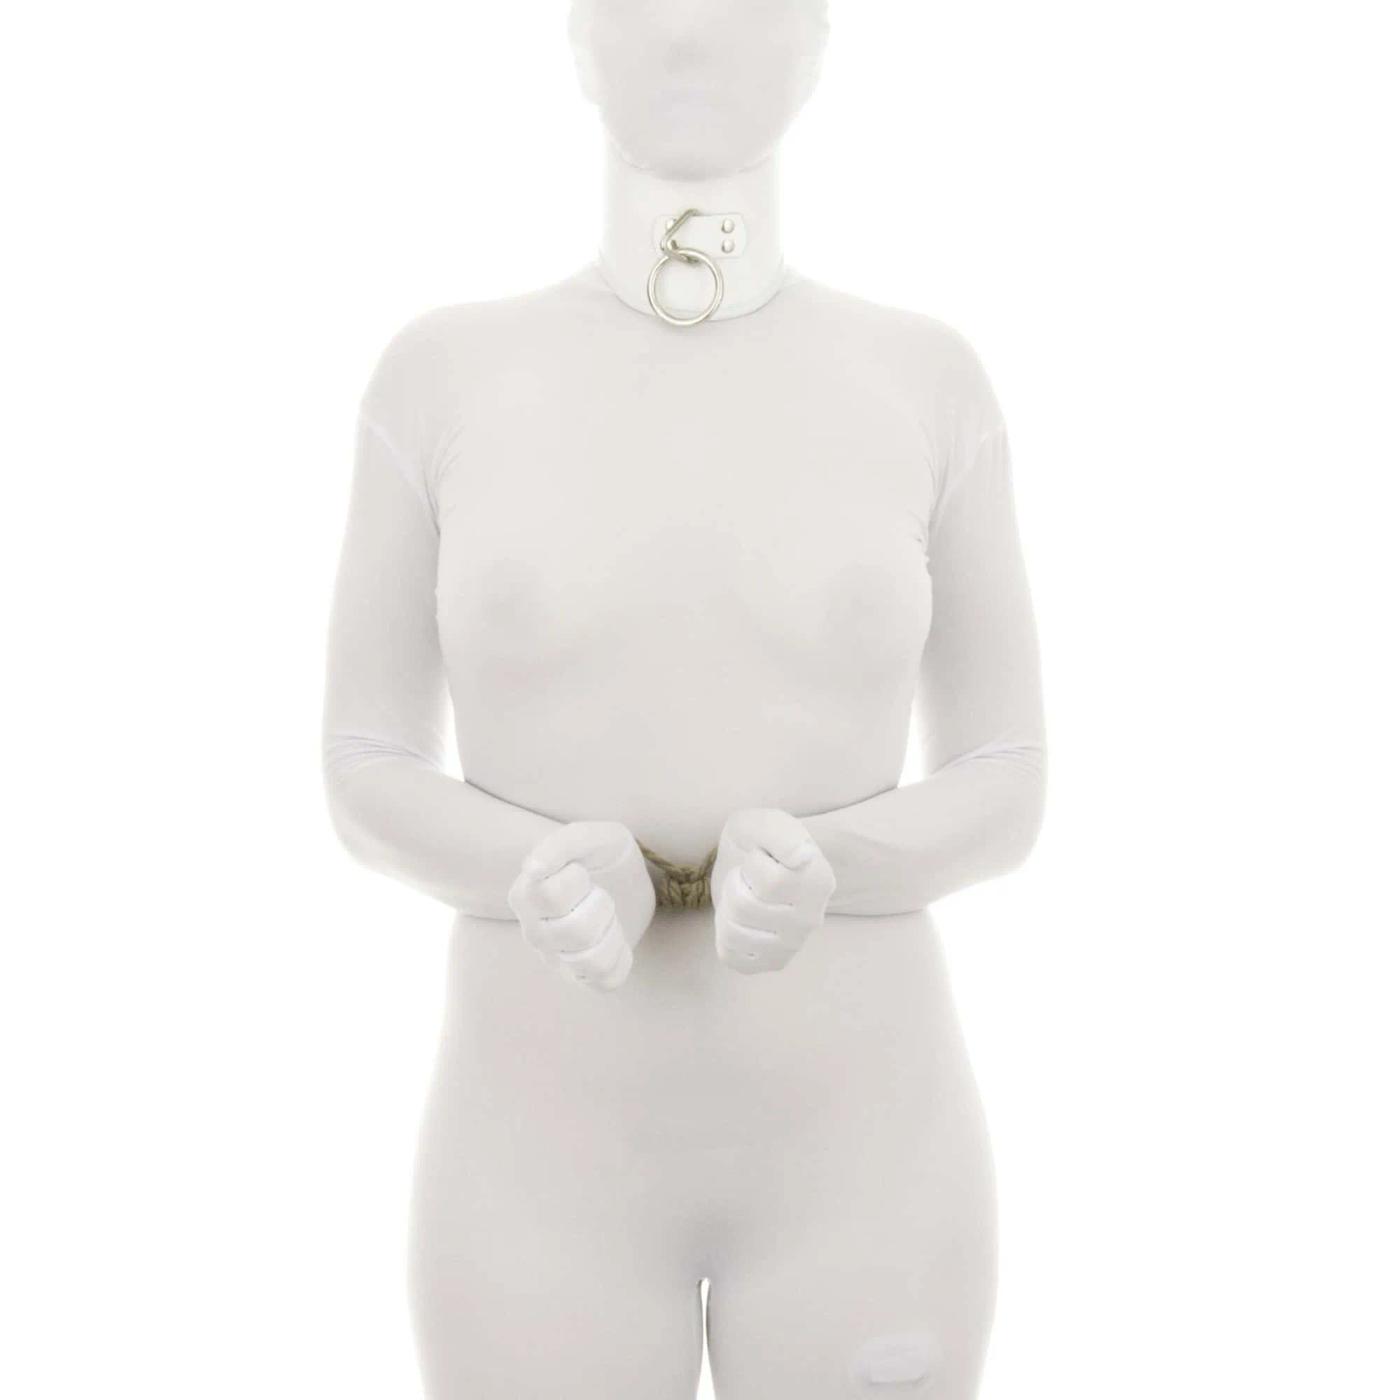
This is how to properly apply the various handcuff knots on this site if you want to do a belly-chain-style configuration.
Quick Cuffs Multi-loop Handcuff Knot Prusik Cuffs
When used with Prusik Cuffs, I have seen many an eel completely stymied by this simple technique. In fact, I have only ever had one person escape from it and I steadfastly stick to the story that I simply didn’t apply it correctly. ;) (This is backed up by the fact that when I immediately re-applied it, she couldn’t get out a second time… but she might just have been exhausted.)
Rope Needed
For this tie, I used one 10' (~3m) piece of Natural 6mm provided by my affiliate Twisted Monk.
I use an amazing Natural hemp rope provided by my affiliate Twisted Monk. Check them out!
Prerequisites


Video
Pictures & Text
Use these same steps to apply any handcuff knot in a belly chain style configuration. For this tutorial I will be using a Prusik Handcuff knot, which is my favorite handcuff knot.
Place the loops over the hands with the knot and tail ends on the pinkie side.
This keeps it away from the thumbs and makes it much more difficult to attack
Tighten on the wrist. Tighten the loops so that your smallest finger can just barely be forced under the rope.
The knot will compress slightly when the person begins to struggle. This will open these loops a little. If you don’t want them to be able to wriggle out, the loops should be very tight at this stage.
Lock the cuffs by doing a single overhand knot like this.
Tighten this Overhand Knot very firmly.
Do not turn this into a square knot. As the person struggles, the knot will get much tighter and a square knot might become difficult to undo
Now you can use the free ends to attach your partner’s hands to something. For example: your partner’s waist to form a “belly chain”, keeping the hands away from the mouth so they cannot use their teeth to pull the knot apart. Run the trailing ends around narrowest part of the person’s waist…
…to their back
Form the first half of a Surgeon’s Knot by doing one overhand…
…then adding a second twist.
We need to pull this very tight as well as it will loosen slightly with struggle. Here we will shift angles so you can better see how I tighten it.
Holding one tail in each hand, I push my partner forward just a little with my thumbs.
As they tip forward, I pull on the rope to help them catch their balance and, at the same time, pull my hands apart…
…hard. This almost always results in being able to close this knot even tighter, resulting in a much more secure tie.
Keep tension on the ends as you bring them together so that you don’t lose the tightness you just achieved.
Finally, lock the “belly chain” by completing the Surgeon’s Knot. I keep tension on the ropes with my hands as I am creating the second Overhand Knot. Once it is formed I then..
…snap it closed. Again, very tight.
To see this in action, check out the video, starting at 1:16
Use up any extra rope you have in any way you like.
This is what is looks like from the front
Eels, begin your wriggling!
Another View - Pictures & Text
Create a handcuff knot
My favorite is the Prusik Cuffs, the Texas Handcuffs and Multi-loop Handcuffs definitely have their place :)
Once you put their wrists in the cuffs, "lock" them with an overhand knot
Tighten
Wrap the ropes around their waist in a sort of "belly chain", the begin to tie it off with a Surgeon's Knot
Complete the Surgeon's Knot
Tighten
See above for this being applied to a person
Comments
Loading comments...
Sign in to leave a comment.