
Burlington Bowline - Inline
By Lazarus Redmayne
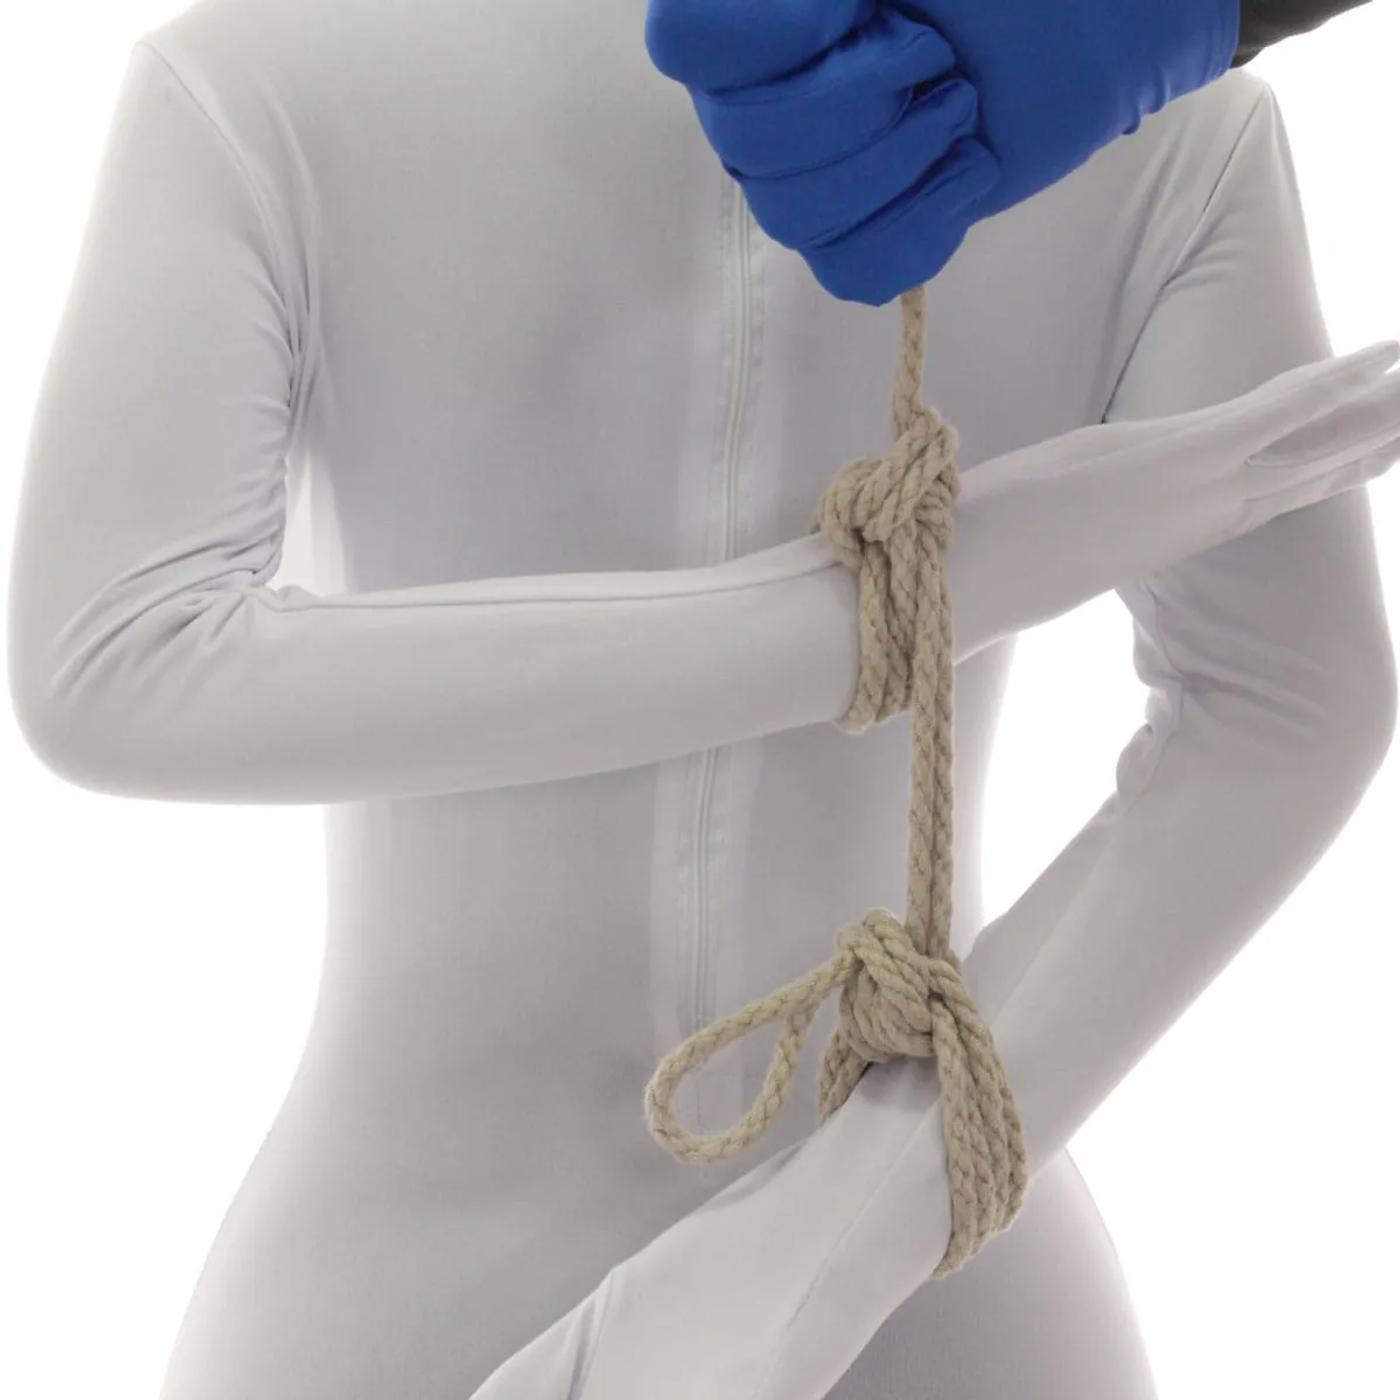
Here is an amazingly fast and stable single column that can be tied inline (when one end is already tied to something). There are many reasons you might want to do this, including the ability to work with a partner that has flexibility issues.
This is based on the Burlington Bowline, originally invented by the amazing Tracker of Innovative Fiber Arts of Vermont. Once you master this, you can tie it in 20-30 seconds!
Rope Needed
For this tie, I used one 15' (~5m) piece of Natural 6mm (1/4") hemp provided by my affiliate Twisted Monk. Check them out for some amazing hemp rope!
Video
Pictures & Text - Inline - Behind the Back (BTB)
For this example, let’s suppose that your partner has the flexibility issue in the right arm so it can only come up to this position, while the left arm can some fully up into a box type position like this. Here is where we want the arms to end up at the end of our tie, but we added a little planning first...
We’re going to need a little bit of slack between the two wrists in order to tie this knot, so move the lower wrist down a few inches
Now we’re going to tie the Burlington Bowline but with one end already anchored. Wrap the tail around the wrist twice and then slide your finger underneath the coils from the tail end of the wrap as shown
Lay the tail across the coils and hook it with your finger
Pull the tail through then set the appropriate tension
To do the next step are going to need a little bit more slack between the two wrists, so allow the wrist you’re tying to move down toward a little…
… So that you have more slack here
Now grab the connecting lines with your thumb and forefinger as withdrew from side down like I am doing…
… And twist your hands to form a loop. Leave at least two fingers inside that loop to make the next steps easier
Hook the tail…
…and pull the tail through. Don’t allow the lower wrists to pull down at this point because you don’t want that loop to close quite yet
Now execute the rest of the Burlington Bowline (ending 1). Move the loop to the other side of the wrist cuff…
… Run your fingers through the loop and underneath the strands of the wrist cuffs. Hook the tail with your finger…
… Pull the tail through
… All the way. Pull the tail to add tension…
… Pull the wrists apart to lock the loop and lock the Inline Burlington Bowline (on the upper wrist)
Now you can add tension to the tail and position the wrists how you wish
Continue on with your planned bondage tie
Pictures & Text - Inline - Handcuffs/Bondage Belt
Tie one wrist with a regular Burlington Bowline, but make the bight a little longer, about as long as it will take to get from wherever you want to place your partner's wrists to the middle of their back…
(I actually made this bight too long. In step 3, it should only have reached about the middle of the back.)
Tie an Inline Burlington Bowline to the other wrist, just far enough apart so that their wrists rest on the forward points of their hips or maybe directly at their sides. Then reach around them from behind and grab the bight and the tail
Run the tail through the bight
Lock off with half-hitch
Like this
“Use up” the rest of your line. I did so by just doing a series of half-hitches
Comments
Loading comments...
Sign in to leave a comment.