
Lark's Head Single Column
By Lazarus Redmayne
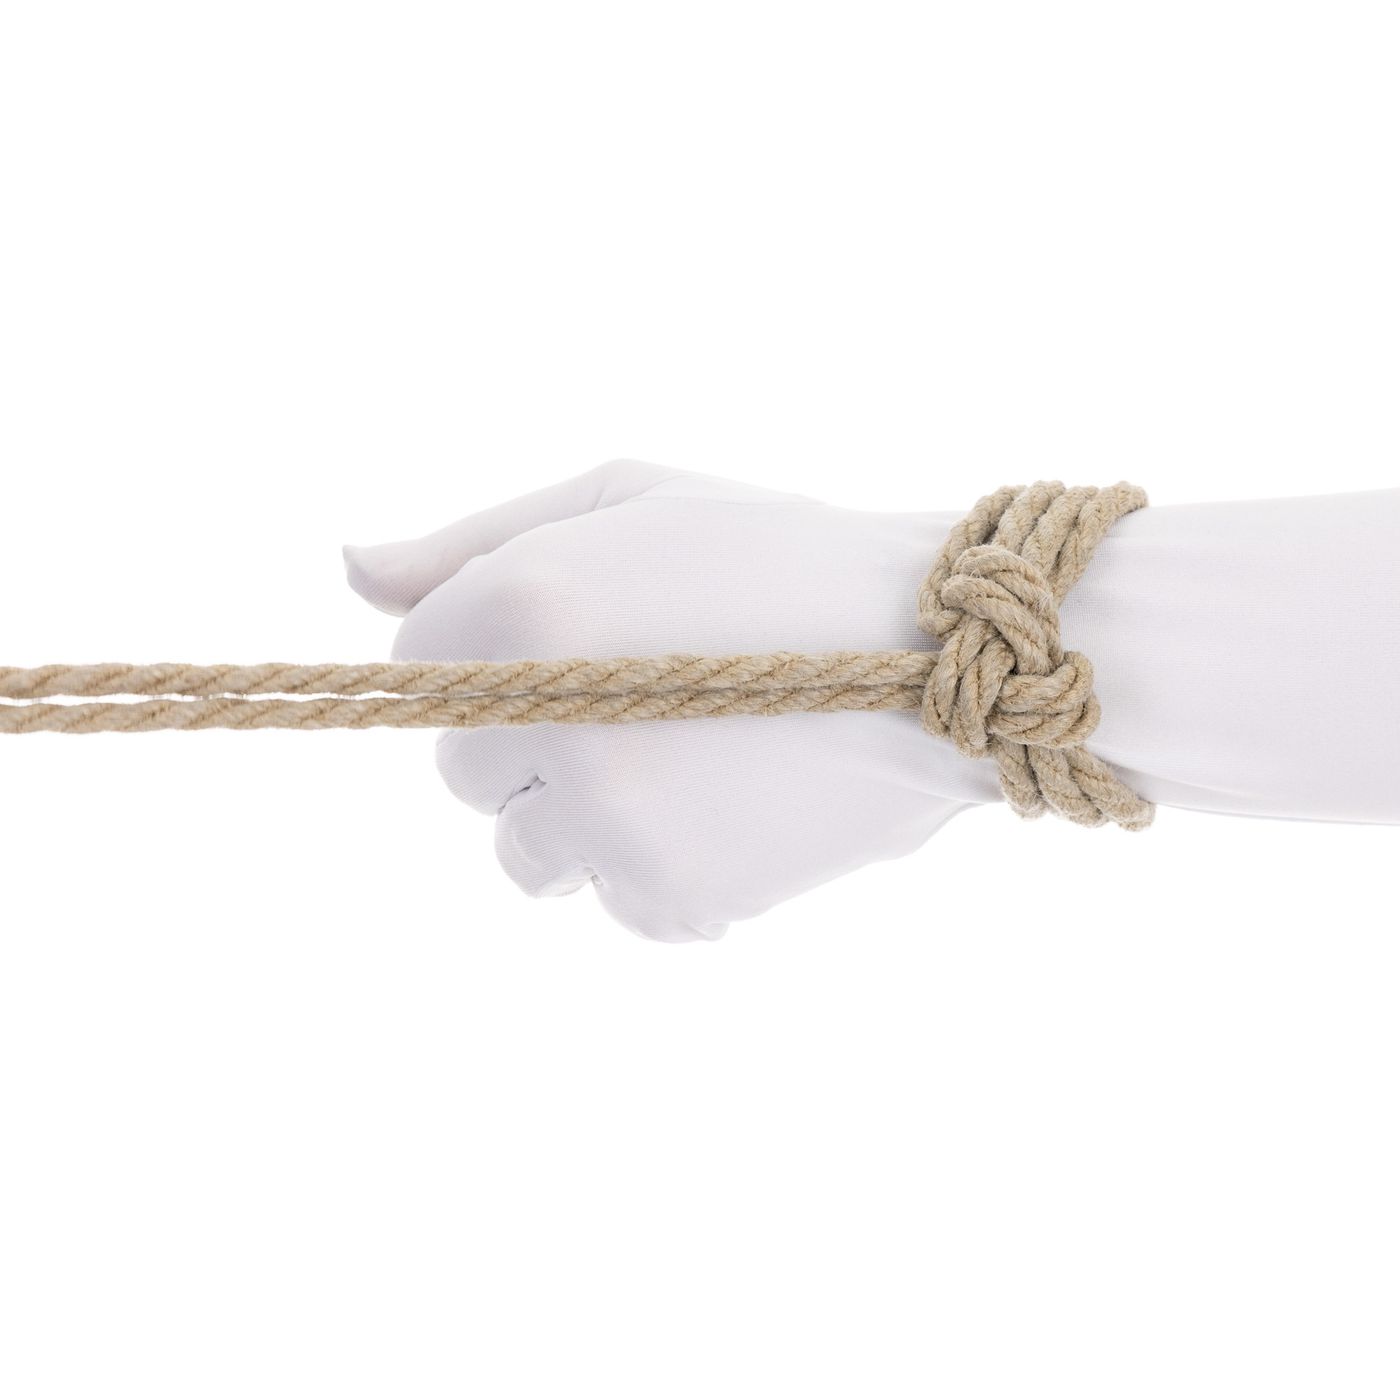
This popular reverse-tension single column tie is attractive, lies relatively flat, and is very secure.
Single Column ties create a non-collapsing cuff, belt, strap or band around any one thing.
- Wrist
- Ankle
- Thighs
- Knee
- Waist
- Chest
This is the starting point for many ties, like the Unchastity Belt (Crotch Rope), Stirrup Heel Tie and Shinju.
You may see the term “Single Column” abbreviated SC”, “Single Column Tie” as “SCT” and, here on TheDuchy, “Lark’s Head Single Column” to “LHCS”.
Reverse-tension Single Columns are slower than forward-tension styles like the Somerville Bowline as they require tail pulls (the entire length of the rope must be pulled through some part of the knot while tying, in this case 2-3 times) That said, this tie is also less bulky and some find it more attractive. It cannot be untied without freeing the tail (this can be a good thing or a bad thing, depending on the situation).
Important Safety Tip! Wrists are sensitive, they must be handled with care.
- They have a lot of nerve and blood vessels near the skin on the inside of the wrists. Too much pressure there can impact blood flow or nerve conduction. Cuffs should never be too tight; you should always be able to run two fingers under a cuff.
- The wrist joint itself is also fragile. If you pull on wrists too hard, you can damage that joint or even push some of those small wrist bones into the wrong position. NEVER suspend someone by the wrists alone. Never tie someone in a position where rope is a applying heavy continual stress on the wrists.
- An example of this might be if you tied your partner's wrists to the bedposts, then grabbed their feet and pulled them sharply toward the foot of the bed. In that scenario, you may end up applying too much pressure to the wrist joints. Tying your partner to a bed can be amazing fun, but make sure there is enough slack in the tie that they can move their arms and wrists enough to adjust the lay of the cuff and rope strands from time to time.
Rope Needed
For this tutorial, I used one 10' (~3m) piece of Natural 1/4" (6mm) hemp.
For most ties on this site, I use an amazing Natural hemp rope provided by my affiliate Twisted Monk. Check them out!
Prerequisites

Video
Video Contents:
- Creating the Cuff (0:44)
- Locking the Cuff, Forward-tension Style (4:04)
- Locking the Cuff, Reverse-tension Style (6:16)
Core Technique - Pictures & Text
Find someone with something to which you want to attach a rope :)
We’ll choose a wrist for this example.
Fold a rope in half. Place the bight over the wrist or item to be tied.
Beginning with the rope folded in half and tying with two strands at once is a quality of "eastern-style" or "Japanese-style" bondage. "Western-style" is characterized by starting at the end of the rope and tying with just one strand.
Reach through the bight.
Grab the tail.
Pull the tail through.
Note that I am holding the tail with one hand while the other is pulling it through the bight. This helps you control the rope as it moves, so you can prevent the tails from “flailing” around and whipping your partner.
This forms a Lark’s Head from which this tie takes its name.
In some circumstances, you can form the Lark's Head knot first and simply slip it over your partners hand, foot, etc...
Place your fingers on top of the bight and reverse tension on your rope (it was heading downward in this picture and now it is heading upward) and begin a second wrap.
Place the new wrap(s) on the side *opposite* the direction you want the tail to go when the tie is complete.
You can wrap once or twice (for a total of 4 or 6 strands), then feed the tail to your fingers.
You rarely want more than 6 strands in your cuff. More than that and they tend to start bunching up which can be a safety issue as the bunched-up cords can put too much pressure on the inside of the wrist.
Pull the tail through.
Note that the tail is naturally moving in the direction we want it to go when complete. Now we just lock it off with a half-hitch.
Note: Some people reverse the tension one more time here (so in this case, run the tails up over top of the knot again) before adding the half hitch. This is totally fine, too. The advantage of doing it the way I show here is mostly aesthetic (I think it looks nicer) but it is also a bit slimmer, less bulky. The advantage of adding the reverse before doing you half-hitch is that it is a little easier to set and maintain your tension while locking off the cuff. I personally find that the difference is minimal though. To see the other version, check out the video.
Keeping the tail on the same side of the bight, pull it backward over the cuff to form a small loop.
Protect that loop with your thumb while you slip your finger under all the strands of the cuff.
Hook the rope under that finger.
Use that to draw the tail under the cuff.
You will likely find it helpful to pull against the upper part of the knot as shown in this picture. That will keep the passageway the tail is traveling through open while you pull the tail all the way through. If you allow your hand to drift in the direction of the bight of the cuff, the channel you are pulling the rope through will tend to close, making it difficult to pull the rope through. If you need to see this in action, check out 4:20-4:45 of the video.
Pull the tail all the way through.
Important: Do not simply pull the tail at this point to try to tighten the knot. If you do, you may endup in a malformed state and the cuff can tighten down to an unsafe degree. You need to properly tighten the Half Hitch into the node first. **Node before Load**
Grab the loop and…
…move it to the other side of the cuff.
Place your fingers behind the ropes of the cuff so you can feel how tight things are and to add friction as you tighten the knot in three steps…
One: Grab the line coming into the half-hitch from the cuff.
Pull that line until all 4 (or 6) of the lines of the cuff have the same tension.
Having your finger here means that you will not make the cuff too tight. The general rule with cuffs is that you need to be able to slip 1-2 fingers under them so that you don’t put dangerous amounts of pressure on the nerves and blood vessels running through the inside of the wrists.
Clip that with your thumb to hold that tension in place while you finish tightening the Half-Hitch.
Two: Grab the line on the other side of the cuff.
Pull that to…
…tighten the rope around the tail.
Move the finger that is inside the cuff to underneath the line you just tightened to hold in in place while you…
Three: Grab the tail and…
…Pull it tight.
With practice, you can complete this tightening procedure in seconds. It will seem to others like you did almost nothing.
Complete!
An older version of this tutorial that shows a closeup of the 2-tail-pull version.
Fold a rope in half. Place the bight on the wrist or item to be tied.
Reach through the bight. GT&PT
GT&PT = Grab tail & pull through
This forms the Lark's Head from which this tie takes its name
Reverse tension and begin a second wrap. Place the new wrap on the side *opposite* the direction you want the tail to go at the end
Thus
Reach through the bight you just formed
GT
PT
Note that the tail is naturally moving in the direction we want it to go when complete. Now we just lock it off with a half-hitch (steps 9-15)
Note 2: Some people reverse the tension one more time here (so in this case, run the tails up over top of the knot again) before adding the half hitch. This is totally fine, too. The advantage of doing it the way I show is mostly aesthetic (I think it looks nicer) but it is also a bit slimmer, less bulky. The advantage of adding the reverse before doing you half-hitch is that it is a little easier to set and maintain your tension while locking off the cuff. I personally find that the difference is minimal though. YMMV
Reach under the cuff. GT
Use your other hand to keep a little of the rope back. Pull the rest of the tail through
Thus
Put your fingers through that loop
GT
PT
Tighten
Complete
Comments
Loading comments...
Sign in to leave a comment.