Love Bug
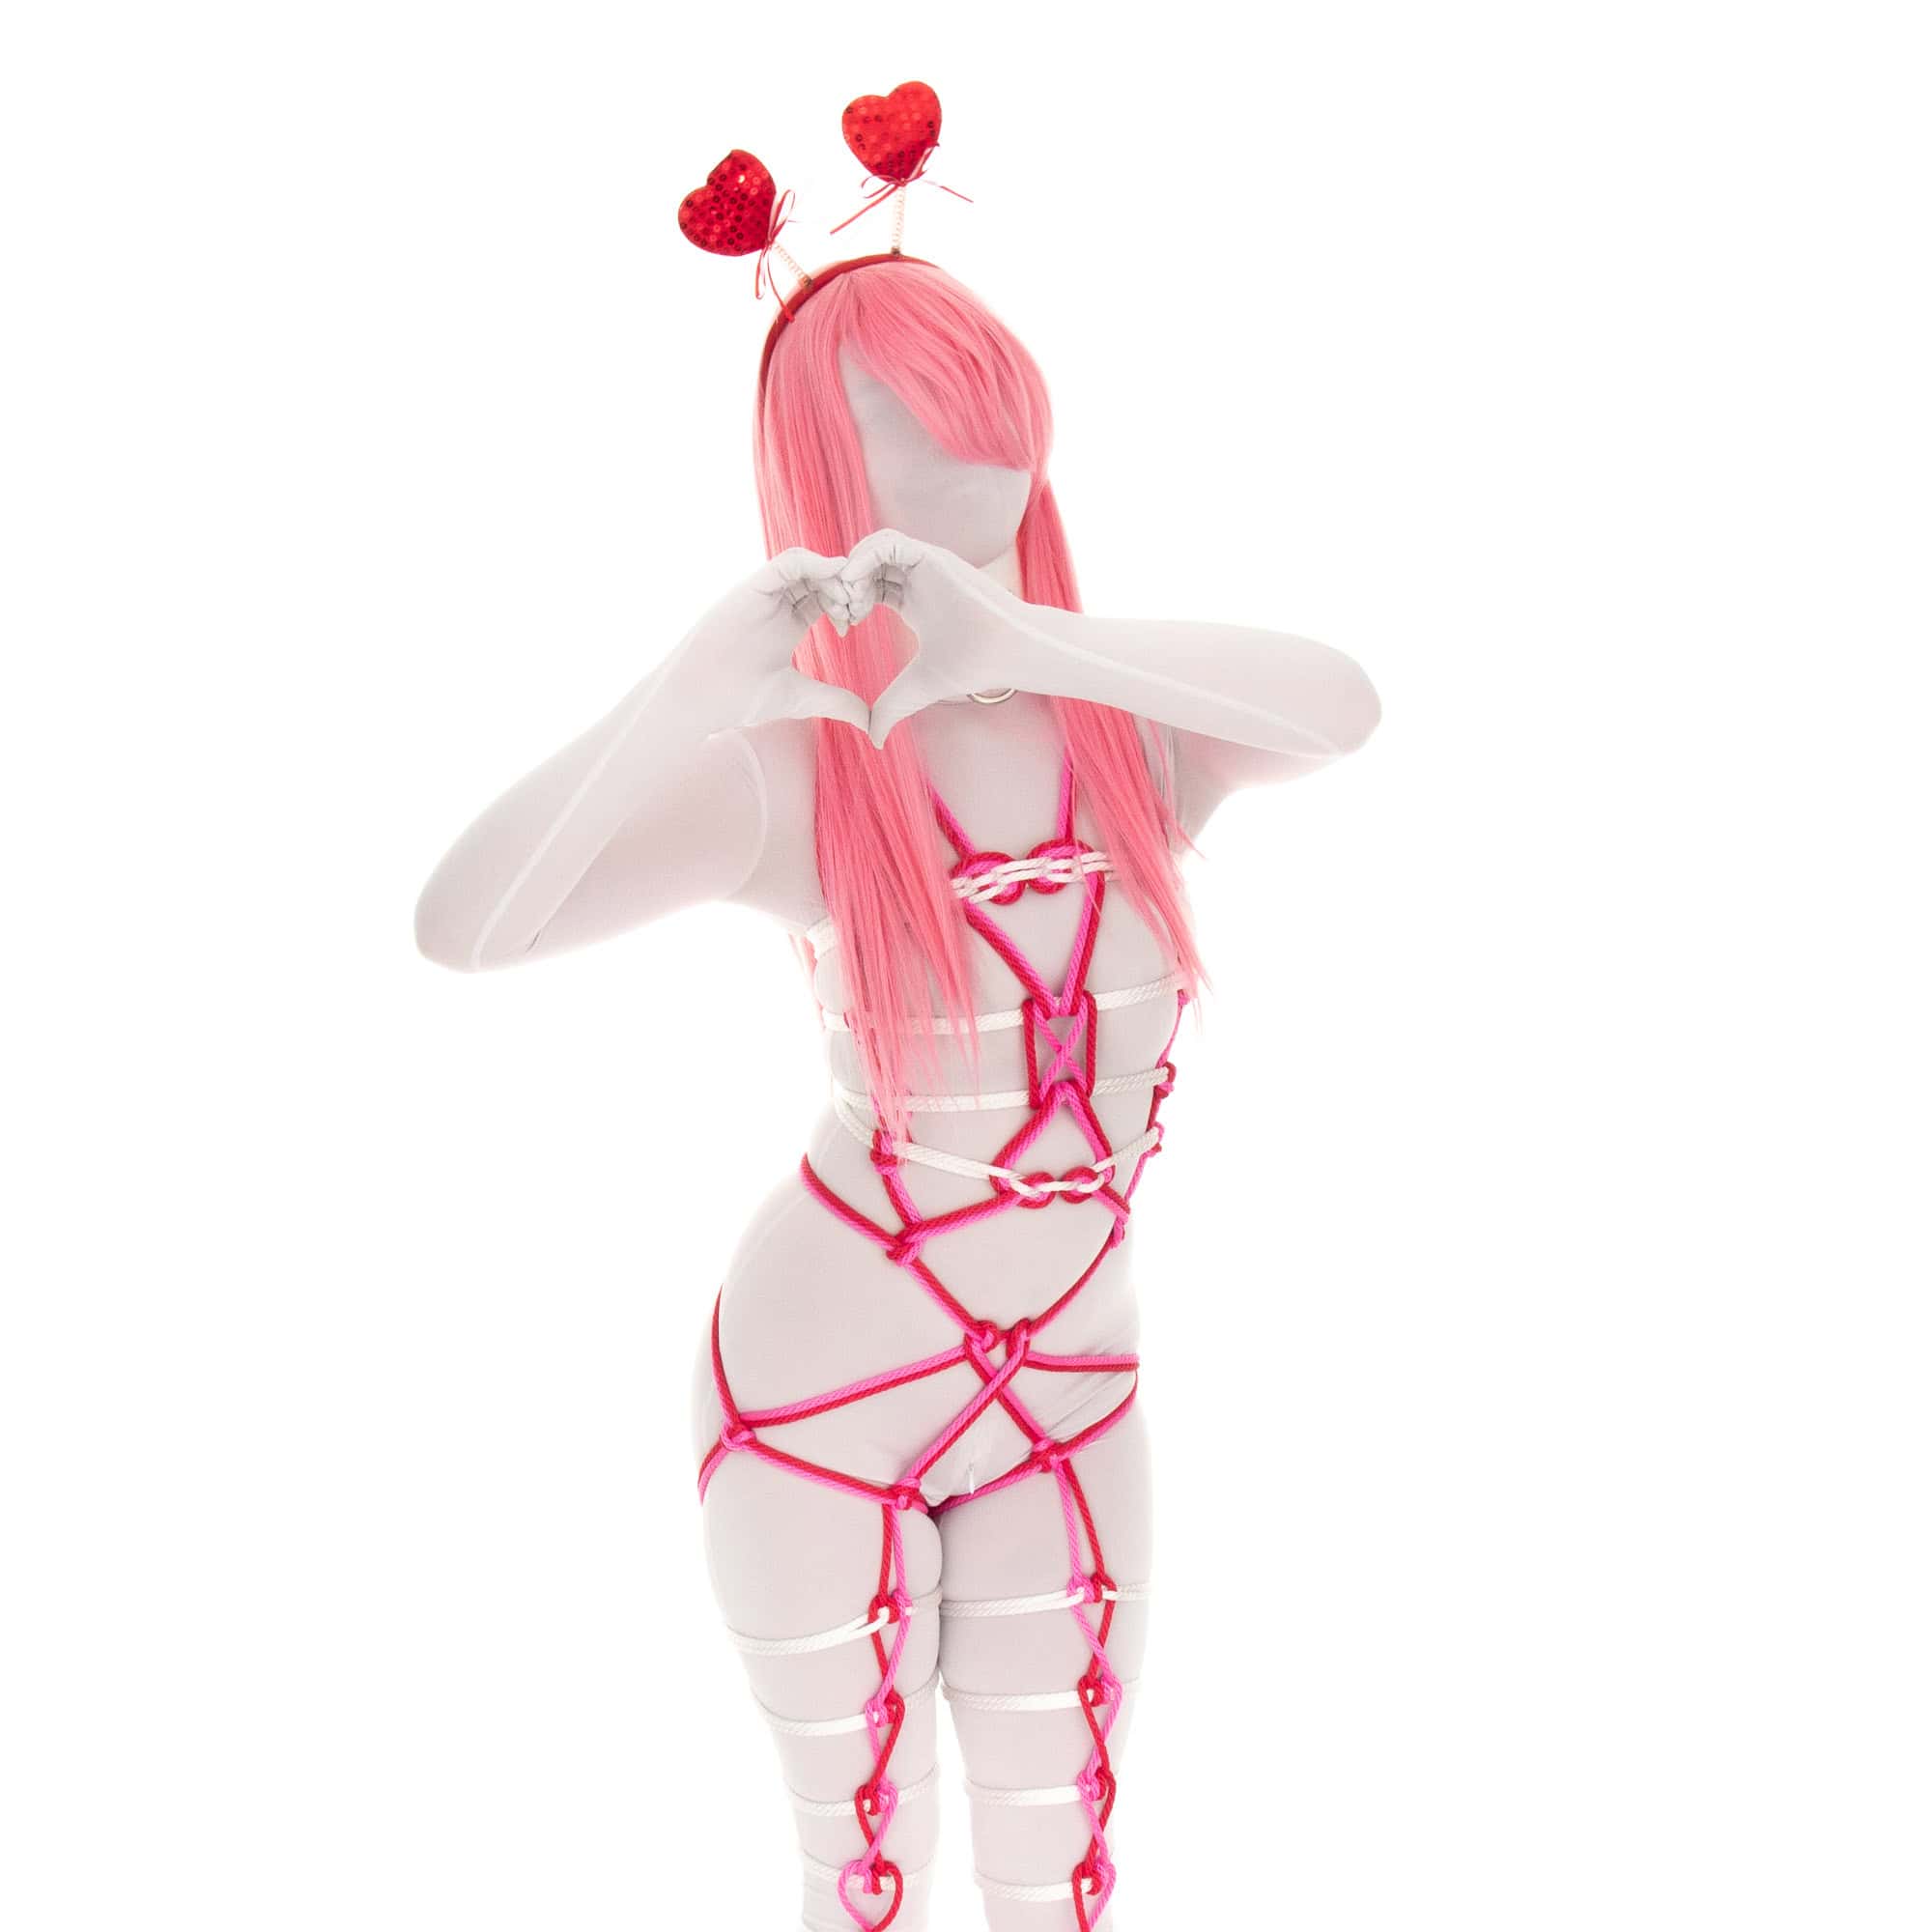
The “Love Bug” 3-Piece Suit is constructed from 3 other tutorials:
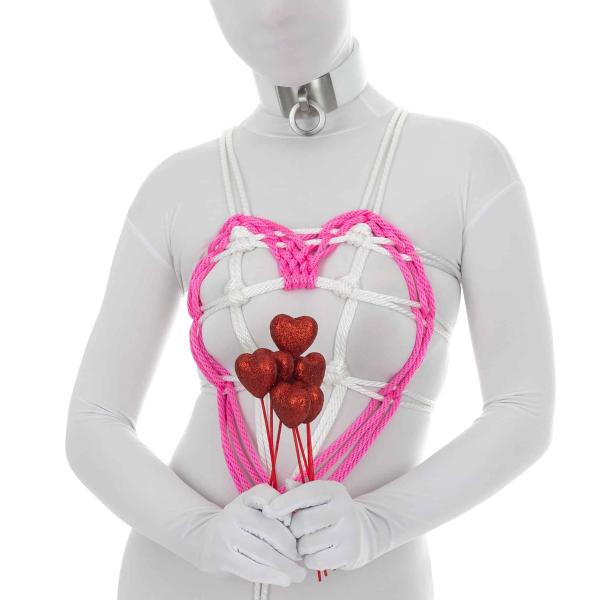
- The top is the Heartbreak Karada
- The hips are the Sweetheart Hip Harness
- The thigh-highs are the Heart Ladder
This tutorial shows a high-level overview of how to put these three ties together to create and adorable and flirty outfit that is great for Valentine’s Day!
This is marked as an Advanced tutorial because we are not going to go into detail. You can refer to the tutorials themselves for details on each tie and can see pictures below for a few tips on how to connect them.
Enjoy!MFP is great stuff! It is soft, strong, waterproof and machine washable. The colors don’t bleed or fade. If you are in the market for colored rope, check out AgAg! If you use this link, it will give you 5% off orders over $35. Also, check out their IG for more inspiration.Prerequisites:
We paused after getting the first half of the top done. The horizontal lines of the tie are not stable until you run supports up the outside of the chest (which we do after getting the hip harness in place), but I temporarily ran the tails between my partner's legs and tied them off in the back because this was just so incredibly cute! Here are some fun shots of this first stage!
The hip harness and thigh-highs can be put on without the top.
The top is the Heartbreak Karada. I used white rope so it would blend with the outfit and make the hearts pop more vividly!
I then continued with the first half of the vertical elements of the Heartbreak Karada (the steps in that link), but I began the rope differently so I could have two colors on each side.
I also made a temporary end to this tie by bringing the tail between the legs after completing the steps above and then tying it off to the back with a Cored Square Knot. This horizontal bands of this tie are not too stable until you support them with a line running on the outside of the chest (the will tend to slide up or down). We will add that support later, after getting the hip harness in place, but this was looking so cute, I wanted to get a few pictures before continuing!
Now that we have something below to anchor on to, we can return to the Top and use up the remaining rope to create a line of Crossing Hitches up the outside of the chest to better support the horizontal bands and keep them from sliding up or down...
On that back, cross the ropes to the other side, weaving them into the existing lines if you like, then tie them off.
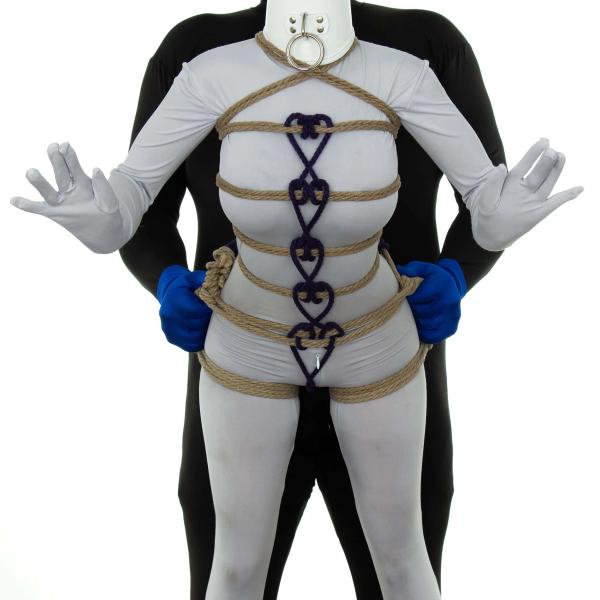
The hips are decorated with a modified version of the Sweetheart Hip Harness. Two main changes:
- I modified the original so that there was only one line going around the waist.
- After creating the heart, I connected the tails to the thigh line with a Crossing Hitch and ran the tails downward and then stopped there. I plan to use these tails to create the hearts on the Thigh-highs when we get to Layer 3.
You can see these modifications in this set of pictures:
The thigh-highs are the Heart Ladder. First, you need a frame of horizontal bands. Again, I picked white rope so that hearts would pop! I attached the rope to the lower rear band of the hip harness using a Lark's Head. Here I show 3 bands above the knee and 3 bands below. It turns out for this width of rope (1/4" - 6mm) that I needed 4 bands above and 4 below. So in later shots in this tutorial you will see it that way.
Then continue on with the Heart part of the Heart Ladder!
If you have any rope left over after doing the thigh-highs, you can use it up by tying a cuff around the ankles or, if you and/or your partner likes heels, you could use it to tie on heels! See below for ideas on how to do this.
If you and/or your partner likes heels, you could use up the rope coming from the thigh-highs to tie on a pair. Here are a couple of tutorials to give you some ideas...