
Fast Load-bearing Double Column
By Lazarus Redmayne
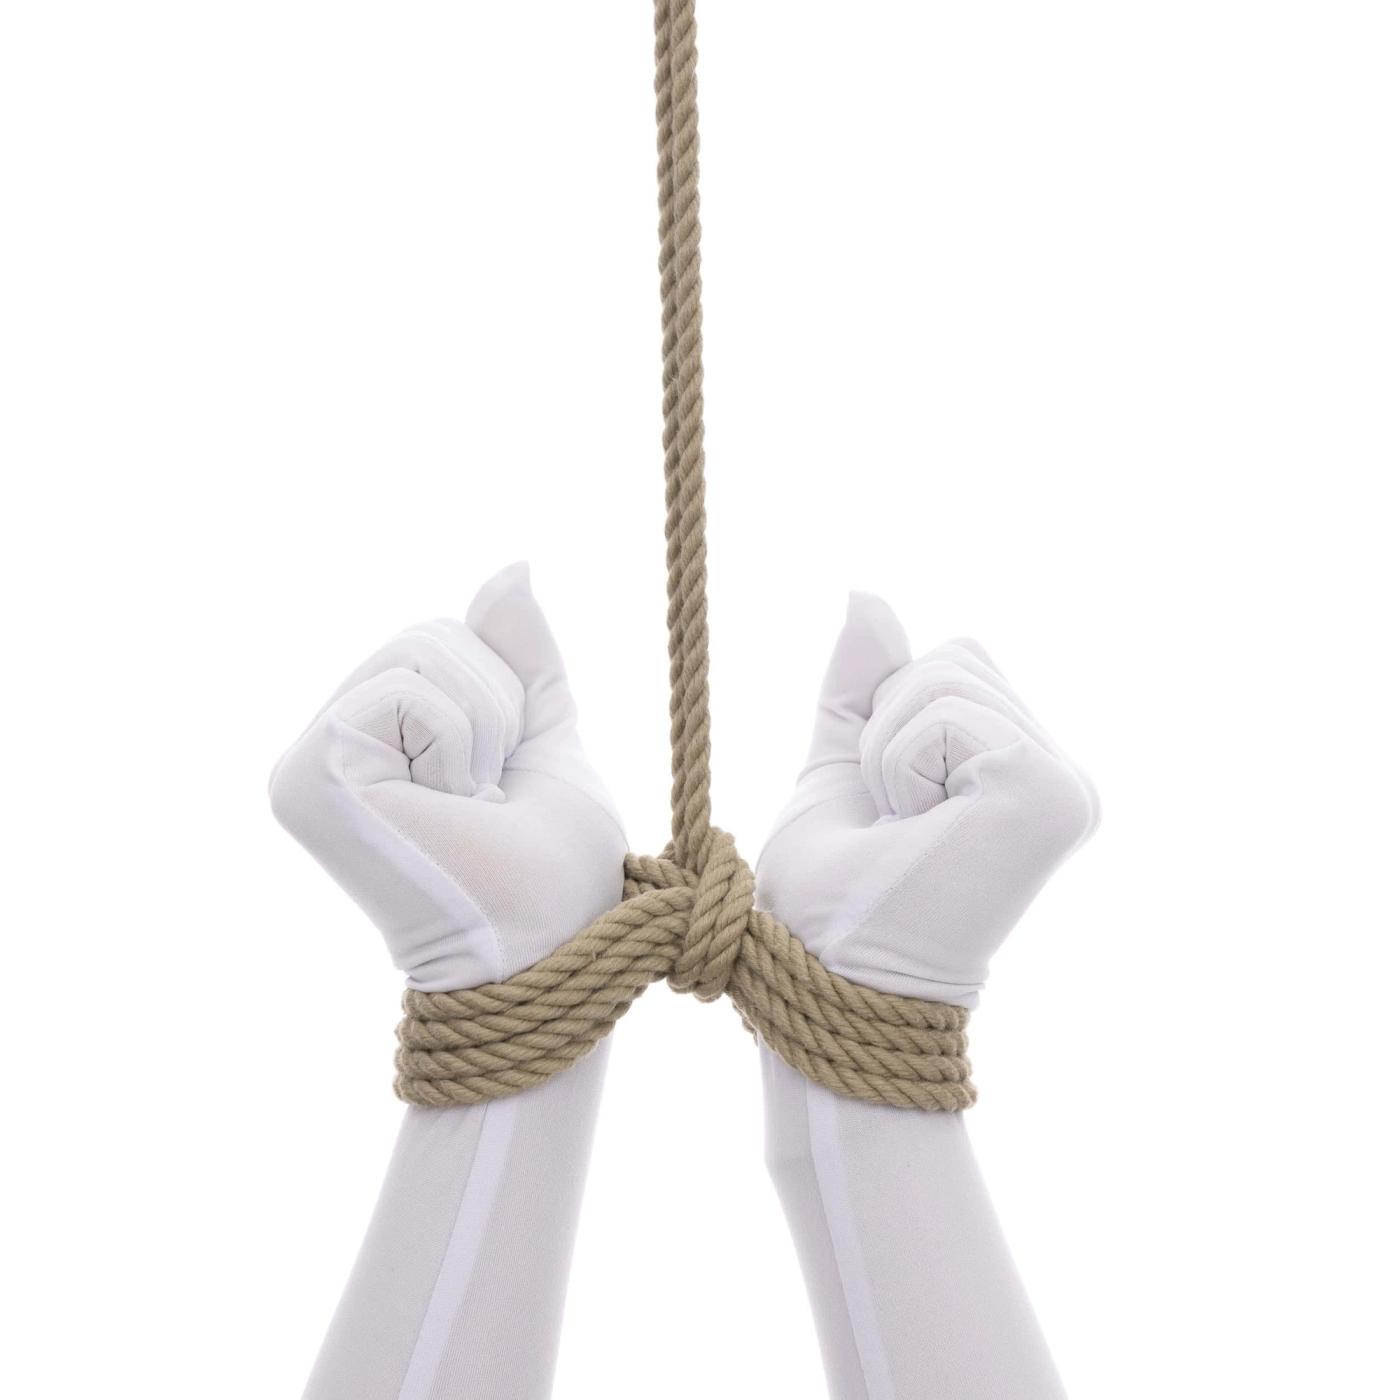
This simple variation on the Lark’s Head Double Column is quick to tie and is suitable for load-bearing situations. By “load bearing”, I mean situations where a person may pull strongly against their bondage. For example, tying a person’s wrists to a headboard so that they can pull against their bondage during the scene, or attaching them to an overhead hard point where they may be pulling down on their cuffs. With this technique, pulling on the cuffs will not make them clamp down and get tighter on the wrists.
This is not sufficient for any situation where the person is unable to relieve the tension. In the bed example, the person needs to simply stop pulling and the tension is relieved. When they relieve the tension, the pressure of the cuffs will be relieved. They are still bound, but the rope will no longer be digging in to their skin.
But attaching them to an overhead hard point can introduce more risk. You can use this to hold their arms over their head, but don’t pull them up so high that they are on their tip-toes and cannot relieve the pressure on their wrists. This is a dangerous situation. Even if you do leave them on their heels so they can relieve the tension, over time doing so may become more and more difficult. Always keep clear communication with your partner and keep their health as your top priority.
Do not attempt to use this or any other wrist-only rope technique to suspend someone.
Rope Needed
For this tutorial, I used Natural 1/4" (6mm) hemp.
I use an amazing Natural hemp rope provided by my affiliate Twisted Monk. Check them out!
Video
Detailed Step-by-Step Version (For those new to rope)
This version includes every detailed step for those new to rope!
If tying these on the wrist, tie them where I am pointing with 2 fingers, on the elbow side this little bone on the wrists. This will help make sure the cuffs are not too tight and helps you avoid damage to the sensitive area on the inside of the wrist that contains a lot of nerves and blood vessels. Yes, if a person struggles, the cuffs will naturally shift closer to their hands, but by tying them here, you build in a little space cushion, which tends to reduce risk.
Lay the bite across the wrist.
Using your active hand, reach underneath, grab the bight with your fingers hooked in toward the wrist…
…and pull it underneath the wrists.
Your fingers are already in that bight, in exactly the right positions to grab the tail.
Hook the tail, twist your hands and pull the tail through the larger, easier path…
…forming the Lark’s Head.
Now reverse your tension (begin going back the other way). Position this secondary bite so that the pathway through it is in the middle between the wrists like this.
Now we set the distance of the cuffs. You want the wrists farther apart than with the standard Lark’s Head Double Column or Classic Double Column.
You want them far enough apart so that if you squeeze the lines of the cuffs together so they are touching…
…like this…
…there will still be enough of a gap between the cinched lines and the inside of the wrists that you can get a finger into the hole on each side.
This is a safety features so that there is not too much pressure on the nerves and blood vessels on the inside of the wrists or on the bones in the wrist itself.
Now that you have the distance set, maintain tension on the tail so that it doesn’t change while you do one or two additional wraps the other direction.
Do your wraps on the opposite side of the direction you want the tail to naturally flow when the tie is complete. In this example, I want the tail to go out the hand side of the cuff, so…
…I do my wraps on the elbow side.
Bring the tail to the same side as your starting node (the Lark’s Head).
Run your finger through the secondary bight, pointing toward the tail.
Hook the tail under your finger.
Crook your finger to begin pulling the rope through.
Use your other hand to control the end of tail so it doesn’t flail around as you pull the rope through.
Now run the tail between the wrists. Take a moment to confirm that it is right in the middle between them; adjust its location, if needed.
Reach down between the forearms and grab the tail.
Bring it around all the strands of the cuff, back to the starting point.
Put your finger under the starting point of this wrap.
Hook the tail under the finger and draw the tail under itself.
This completes the Half Hitch that will act as our cinch.
Squeeze the strands of the cuff together and tighten the Half Hitch.
Make sure it has a tight grip on the lines of the cuffs.
Double Check that you can still get a finger inside the cuffs on each side.
This is a completed Fast Load-bearing Double Column.
Now you can connect this tail to something … say a headboard or overhead hard point.
Watch the tension on the wrists. Adjust periodically.
If the person pulls on the cuffs, the Half Hitch will grip all the strands of the cuffs…
…but the lines of the cuffs themselves will not collapse any more tightly on the wrists.
As soon as your partner stops pulling, the cuffs return to the level of tightness they had when first tied.
The structure of these cuffs will maintain that safety cushion of space.
If your partner does choose to play around in their ropes or struggle, these cuffs will almost always migrate closer to the hands, but by tying them further away from the hands to begin with, will help them not be too tight if the cuffs move. Also, if you notice that they have moved down, you can put a finger under them and move them back.
Like this.
Highlights Version (For those that have completed Foundations/Rope-101)
If you are already familiar with the Lark’s Head Double Column and with good Rope Handling, this is very easy to tie:
Artist's Corner
Inline Version - Detailed Step-by-Step Process
You can also tie one of these in-line -- that is, beginning with a bend in the rope instead of at the bight.
(This is the same idea as is done in the Shinju, where the lower chest strap is just a Lark's Head Double Column and the upper chest strap is also a Lark's Head Double Column, just an in-line version that starts differently, but other than that is the same.)
When starting a Fast Load-bearing Double Column from the bight, you start with the bight, run the tail through it, then reverse tension and…
…do your wraps and complete the tie.
You can also do one in-line, you just start differently: Run the rope to the point where you want the cuffs to begin – the wrists in this example – the holding the rope in place with one hand while you run the tail around the wrists with the other.
… run the tail underneath itself and …
… reverse tension.
From there, you complete the tie just as you would a regular fast load bearing double column. In this case, I want the tail to float for the hands when I’m done with a tie, so I’ll do my wraps on the opposite side of the direction I want the tail to flow naturally at the end, in other words, I’m doing them the second wrap on the side away from the hands.
Run the tail through the secondary bight, then choose how you will end it...
Ending 1
Now you have the number of choices for how to proceed. You could and this the way we do the standard Lark’s Head Double Column by separating the strands of the tail…
… then running one each direction around both sides of the cuff, then bringing them back to your starting point and locking them off with a Square Knot.
That version will look like this.
Ending 2
Alternatively, you can end of this the same way we do the Fast Load-bearing Double Column: Keep both strands of the tail together…
…Wrap them around both sides of the cuff…
…Then run them under themselves…
…And tighten
If you plan to end your tie this way, be sure you have enough space between the wrists in Steps 5 and 6 above, so that when this ending has tightened the ropes are not crushing down on the wrists … that you have space between the inside of the wrist and the cinch.
Comments
Loading comments...
Sign in to leave a comment.