
Square Knot | Surgeon's Knot
By Lazarus Redmayne
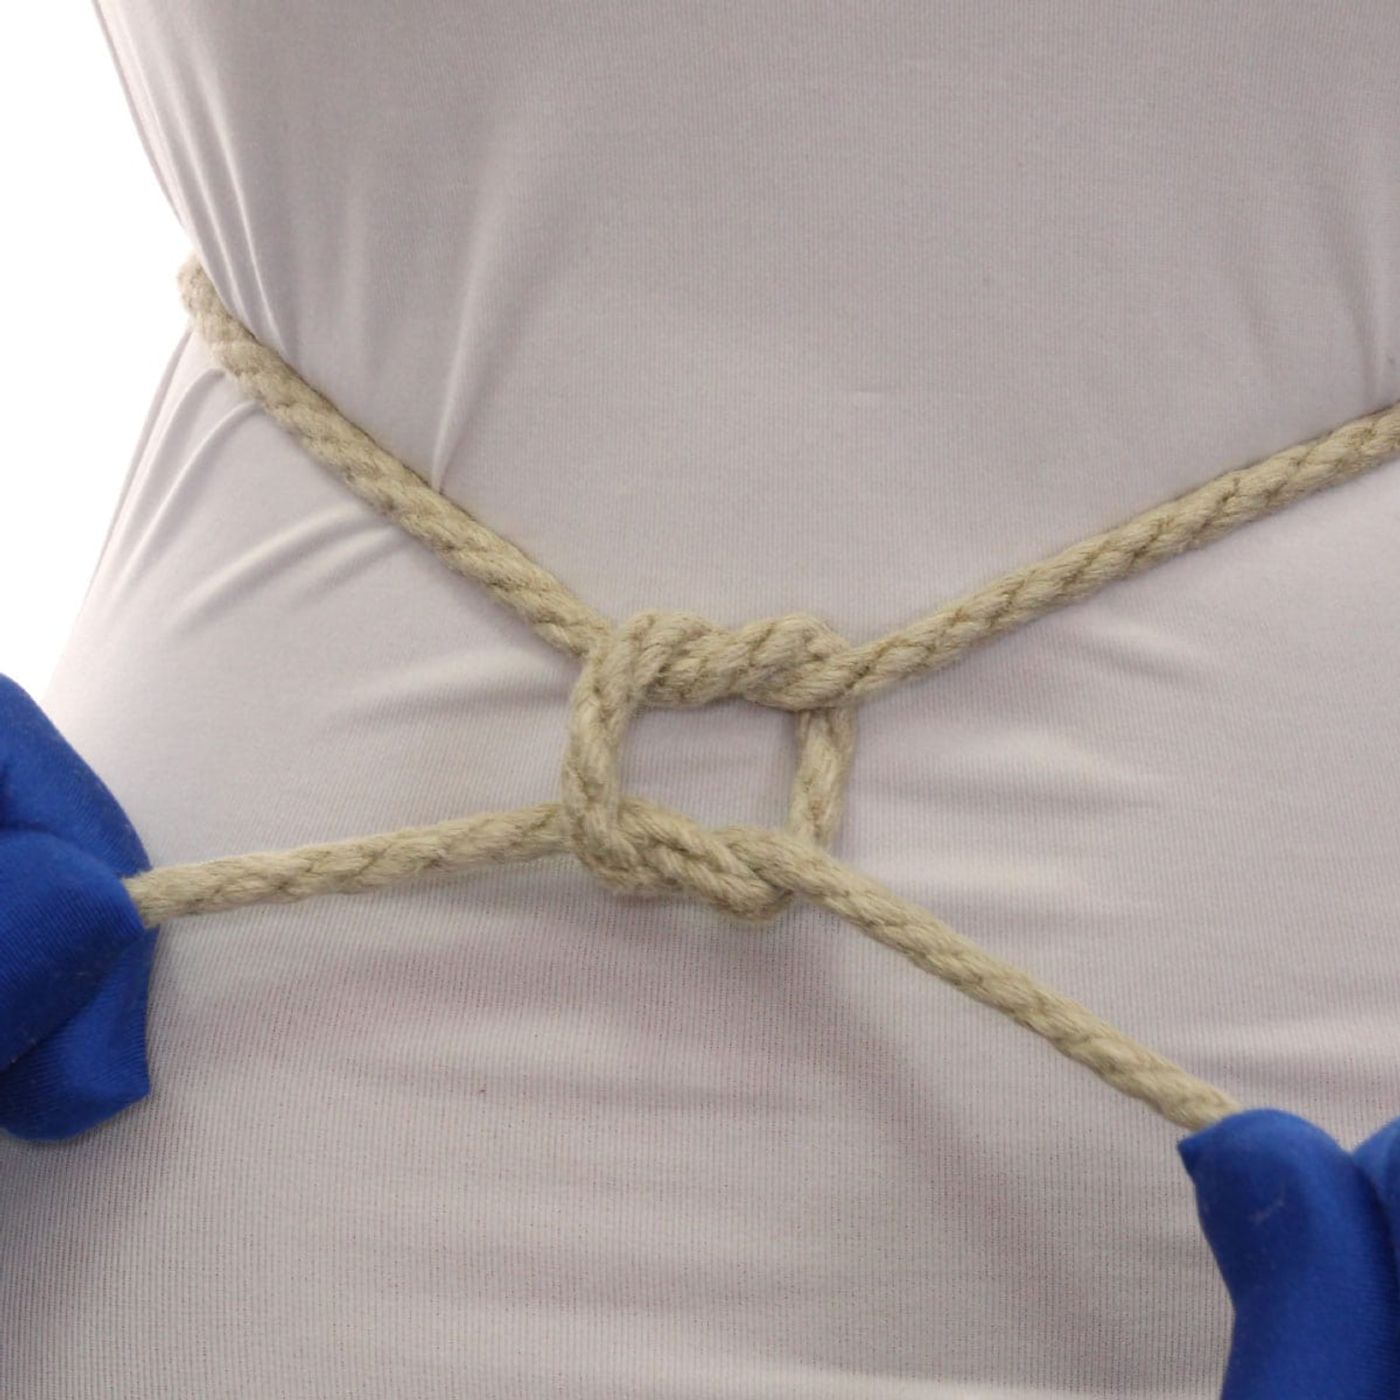
Pretty much the most basic knot for holding to ends of rope together. I like the surgeon's knot better than the square knot, it is more secure and less prone to binding, but they are both there so you get the full understanding...
Pros - Fast, simple, secure (if properly applied and if fingers can't get to it)
Cons - The thing is, square knots are subject to "capsizing", so they can slip in certain situations. They can also "bind" so they are very difficult to untie. To avoid both these problems, I use a surgeon's knot.
Video
This Video Covers 3 Things:
- Core Square Knot information and technique (0:00)
- Advanced method for the Square Knot (2:00)
- Advanced method for the Surgeon's Knot (4:30)
Square Knot & Surgeon's Knot Basics - Pictures & Text
Square Knot
Cross the ends of the rope
Make an overhand knot: right on top of left.
Note that the blue rope is on top of the brown one on both the top and bottom
Cross the streams. ...er...strands,
Make another overhand knot: left over right.
Here it is easier to see that both strands on one side are on the same side of the loop containing them
Completed square knot
This is great for finishing off a tie. It will hold two ends together quite well.
Capsizing a Square Knot
However...a square knot can "capsize" if tension is put on the wrong ends. If you pull on both ends of the same cord
If tension is this way, the knot can undo
Like this…
Once it has capsized, the ropes will just slip apart...
...making them useless for holding anything together. So don't use a square knot this way. :)
Surgeon's Knot
As with the Square Knot, cross the strands, right over left and do an Overhand Knot
...but this time, add an extra twist
Cross the strands, Left over right.
Do an overhand knot. No need to double it on this side, but you can
Tighten to complete
The Square Knot can bind (become difficult to undo), but this one does not. Just pull the sides and it comes undone easily
Advanced Method for Tying a Square Knot - Pictures & Text
This method is a modification of a technique commonly used by surgeons to tie off sutures. (In practice, I don't actually use this technique in scenes; but it is still interesting to understand.)
I highly recommend that you watched the video for this one if the pictures below don’t do it for you. It becomes much easier to understand when you can see the action.
Hold one hand of the cord in each hand. The loose tail should be by your small finger. Using the two smallest fingers of your right hand, hold on to the right hand line. You pretty much never let go of that throughout all these next steps…
With your right hand form a “pincher” or “duck” with your forefinger and thumb.
Move that pincher to the other side of the right hand line…
… Like this
Grab the rope in those pinchers. Don’t clamp the rope between your forefinger and thumb, it should be inside the hole formed by our pinchers. Also, note that the cord is it runs below the forefinger and above the thumb. This is important because it allows the rope to slide freely within that hole allowing for the next step
Now move your pinchers back to the other side of the right hand line like they were in step two…
… Like this
Now grab the left line again. This time you do grasp its between your forefinger and thumb
Move the pinchers to the other side of the right hand line, bringing the left hand line with them
Grab the left hand line with your left hand and pull it through
Tighten this first round just a bit. (You don’t need to cinch it down. Just take out some of the slack)
Note that this first step does *not* look like the first step of the “right over left, left over right” approach. That is normal. It will resolve itself in a moment
Now we’re pretty much back at the same position we started out at step 1, but we have our cords twisted together. Form your pinchers a second time.
Again, grab the left cord in your pinchers. The cord needs to run below the forefinger and above the thumb.
Also, again note that the cord is going through the hole formed by your pinchers. You’re not grasping it between your forefinger and thumb
Now move the pinchers to the other side of the right hand cord
Like this
Now grasp the left hand cord with your pinchers
This time actually grasping the court itself of between your forefinger and from
Then deliver that left hand cord to the other side of the right hand cord by twisting your pincher through the loop
Grasp that left hand cord with your left hand…
… And pull it through
You would simply repeat Steps 17-21 a second time if you want because the surgeons not. Pictures showing that are below
To tighten, first grasp each cord with the small fingers of each hand…
Then insert your forefingers into the loop between the two halves of the knot
Then use those fingers to pull the first half tight
Keep tension on the tails. Then begin to pull the tails to tighten the knot
Like this
Until it’s fully tightened
Done!
Advanced Method for Tying a Surgeon's Knot - Pictures & Text
This method is a modification of a technique commonly used by surgeons to tie off sutures. The first 11 steps of this one are exactly the same as for the Square Knot, I just repeated those same shots here for completeness...
I highly recommend that you watched the video for this one if the pictures below don’t do it for you. It becomes much easier to understand when you can see the action.
Hold one hand of the cord in each hand. The loose tail should be by your small finger. Using the two smallest fingers of your right hand, hold on to the right hand line. You pretty much never let go of that throughout all these next steps…
With your right hand form a “pincher” or “duck” with your forefinger and thumb.
Move that pincher to the other side of the right hand line…
… Like this
Grab the rope in those pinchers. Don’t clamp the rope between your forefinger and thumb, it should be inside the hole formed by our pinchers. Also, note that the cord is it runs below the forefinger and above the thumb. This is important because it allows the rope to slide freely within that hole allowing for the next step
Now move your pinchers back to the other side of the right hand line like they were in step two…
… Like this
Now grab the left line again. This time you do grasp its between your forefinger and thumb
Move the pinchers to the other side of the right hand line, bringing the left hand line with them
Grab the left hand line with your left hand and pull it through
Tighten this first round just a bit. (You don’t need to cinch it down. Just take out some of the slack)
Note that this first step does *not* look like the first step of the “right over left, left over right” approach. That is normal. It will resolve itself in a moment
Do everything the same from the Square Knot technique above, up to step 12. Then, form your pinchers…
Place the pinchers around the left hand line (the pinchers are currently below the right hand line)
Move your pinchers above the right hand line and grab the left hand line
Move your pinchers below the right hand line, bringing the left hand line through the hole. Then pull the left hand line through
Bring your pinchers above the right hand lined a second time
Grab the left hand line in your pinchers
Bring it below the right hand line and pull the left hand line through. The form of the Surgeon’s Knot is now done and you simply need to tighten it. Use the same technique that I talked about in the tutorial above.
Hold the tails tightly with the small fingers of your hands, then insert your forefingers into the hole between the two halves of the knot. Tighten the first layer using your forefingers
Then, keeping tension on the tails, transfer your grip to the tails, then pull…
…to tighten
Like this
Done!
Comments
Loading comments...
Sign in to leave a comment.