
Somerville Bowline Double Column
By Kajira Blue
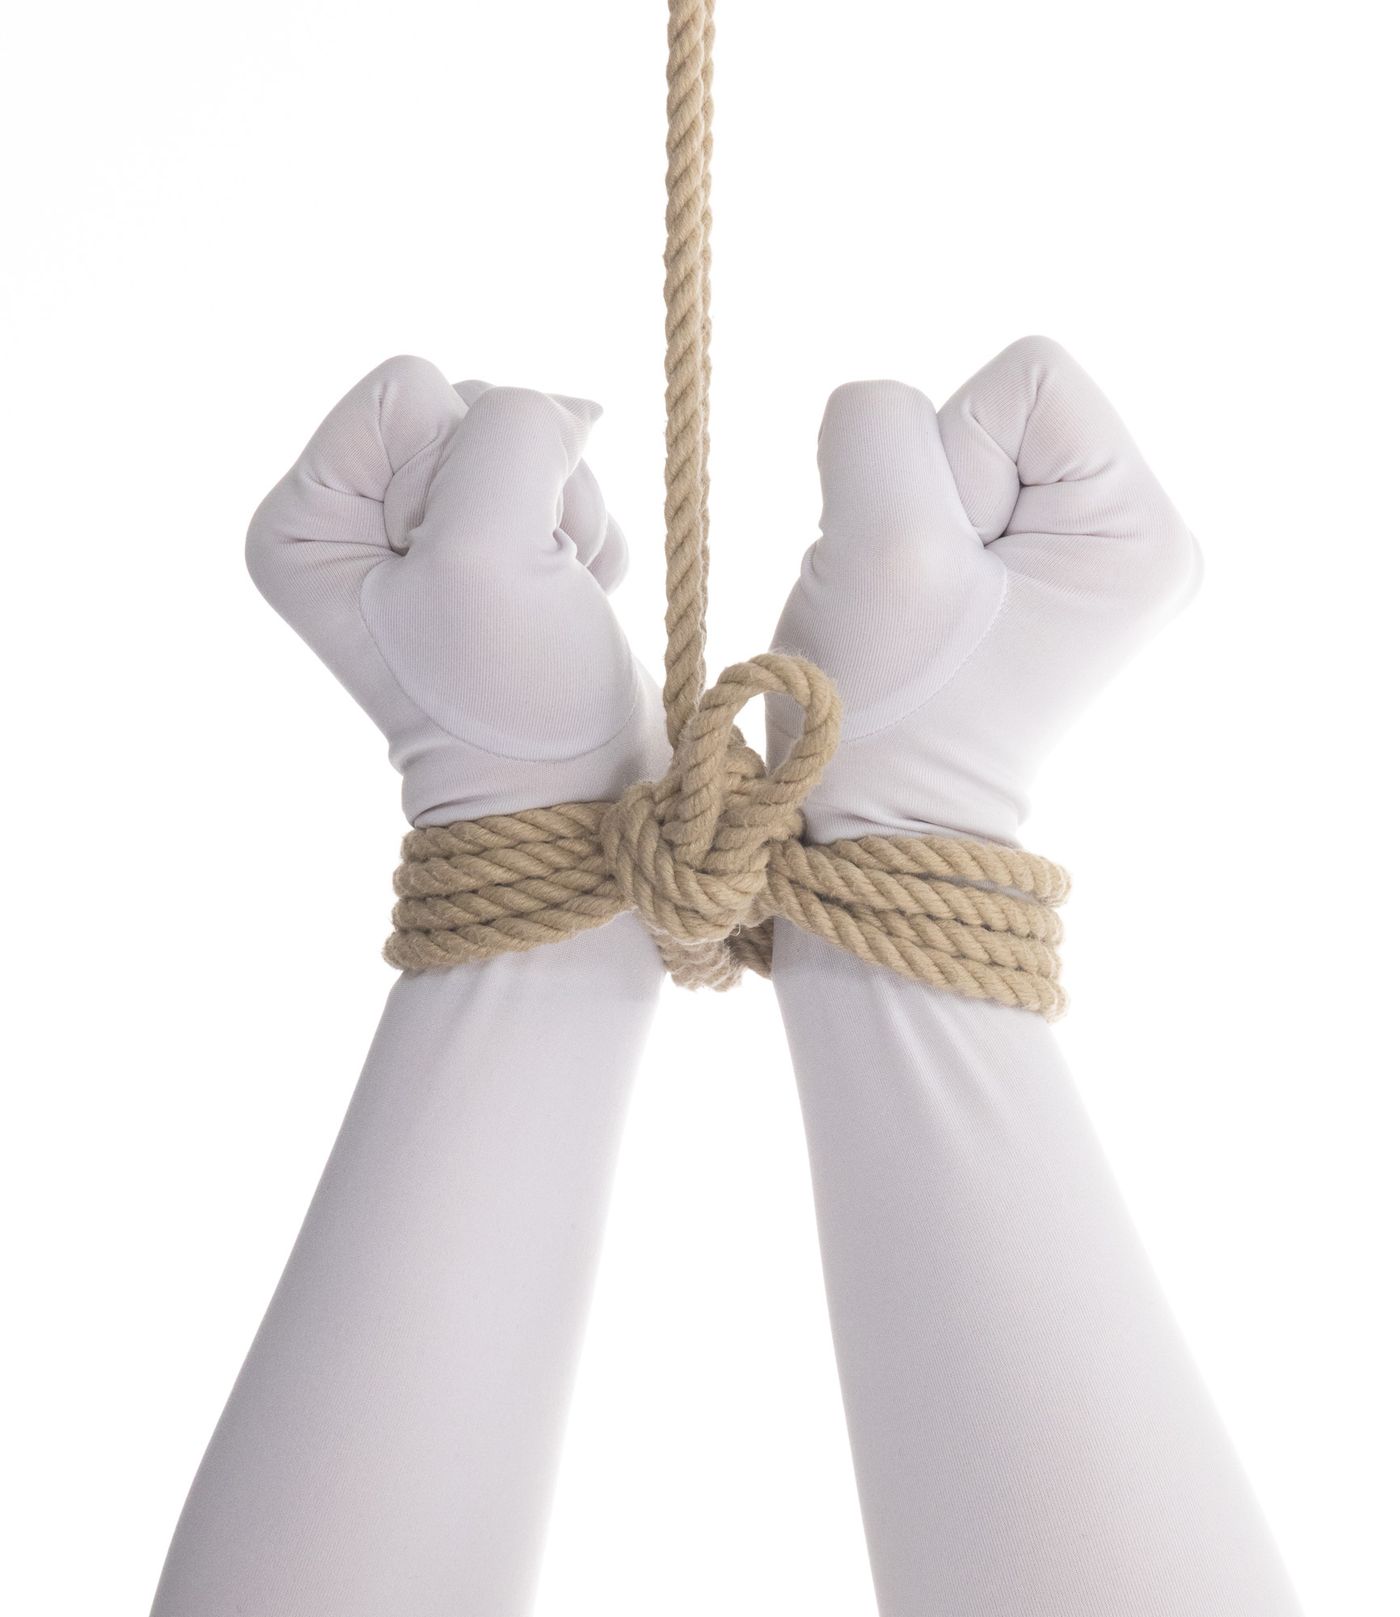
The Somerville Bowline Single Column is one the most widely-used Single Column ties in the world. It is the go-to for many riggers both for use as a Single Column tie, but also to connect a new rope to an existing harness when a firm, reliable connection is a must, as in a suspension.
Fun fact: You can also use these same concepts to create a Somerville Bowline Double Column!
Topologist, the person that developed the Single Column version and introduced it to the world (THANK YOU!!), also developed a Double Column version. It is less commonly used and thus less well-known because it is a little more bulky. But it is still useful because it is fast, particularly if you use the Single Column version a lot and have good muscle memory for the pattern of movements. Its unique qualities make it useful in a wide variety of situations:
- You can use it as shown below.
- Because this a forward-tension technique, this can be tied at some mid-point of a rope, not just at the end.
- You can also make a load-bearing version if you start with the wrists far enough apart that the cinch can be tightened until both sides of the cuffs touch each other, leaving each wrist entirely circled inside its own cuff!
(If you see “SC” below, that is short for “Single Column”.)
Rope Needed
For this tutorial, I used one 15' (~5m) piece of 6mm posh. Extend your rope if you need more; use it up if you have too much.
The ropes I use have been provided by my affiliate Twisted Monk. Check them out!
Video
Pictures & Text - Core Technique
These instructions assume you have already learned the Somerville Bowline Single Column. If you have not, go master that one first. It is well worth the effort and what we talk about below is just a simple extension of that more common technique.
Position the two columns ~1.5 in (~3 cm) apart. Just as with the Somerville Bowline Single Column, make two wraps.
Pull enough of that bight out that you have enough rope to go around the ropes of the cuffs 3-4 times.
If you are tying wrists, 10” (~25cm) is usually enough.
Lay the bight on top of the wraps of the lines of the cuffs and hold it in place with the thumb of your non-dominant hand.
Use your dominant hand, reach down and grab the tail.
Lift it up and make a loop, lay the tail on top of itself and clip it in place with your off-hand thumb.
I don’t show the details here, so if you need more detail, see the Somerville Bowline Single Column tutorial.
Note how the tail loop makes an “X” as it crosses itself?
We need the bight end to lay on top of that cross.
These lines that lay across the strands of the cuffs *are* that bight. Grab them and…
…pull them up so the bight comes up out of the loop.
Now lay the bight right back down where it was, but this time on top of where the loop crosses itself (pointed out in 7 above.)
Put another way: Lay it “across the cross”
Using your dominant hand hold all that together. Grab the bight with your off hand and …
…tuck the bight *backward/down* between the columns on this side of the wraps, across the back to the other side and begin to tuck the bight *forward/up* through the column again.
You can either reach through the loop to bring the bight back to its starting point (shown), or bring it forward first and then…
… bring the bight through the loop again.
Like this.
Lay the bight across the strands of the cuff again.
Pull the bight to set the tension of the wraps. Be sure not to make them too tight.
If we were doing a Single Column version, we would simply pull the tail at this point to lock the tie, but with the Double Column, you have one more step.
Using your off hand, tuck the bight under *just the upper strands* of the cuff. This gets the bight into the right position and simultaneously lets you test to make sure the cuffs are not too tight!
Remember, you need to be able to slip a finger inside the cuff. If you cannot, it is too tight.
Run the bight up through the tail loop a *third* time.
Hold it in position with one hand, keeping tension on it while the other grasps the tail. Pull the tail sharply in a direction perpendicular to the columns to lock the knot.
With this Double Column version, it can be helpful to hold the knot itself and give the tail an extra pull to give it a better grip…
… then do the same thing with the bight.
You can even give each individual strand an extra pull. You’ll be surprised how much extra slack you can sometimes remove from the knot by doing this.
Done from the knot side.
Done from the cinch side.
Comments
Loading comments...
Sign in to leave a comment.