
Anchoring a Horizontal Pole to a Hard Point
By Lazarus Redmayne
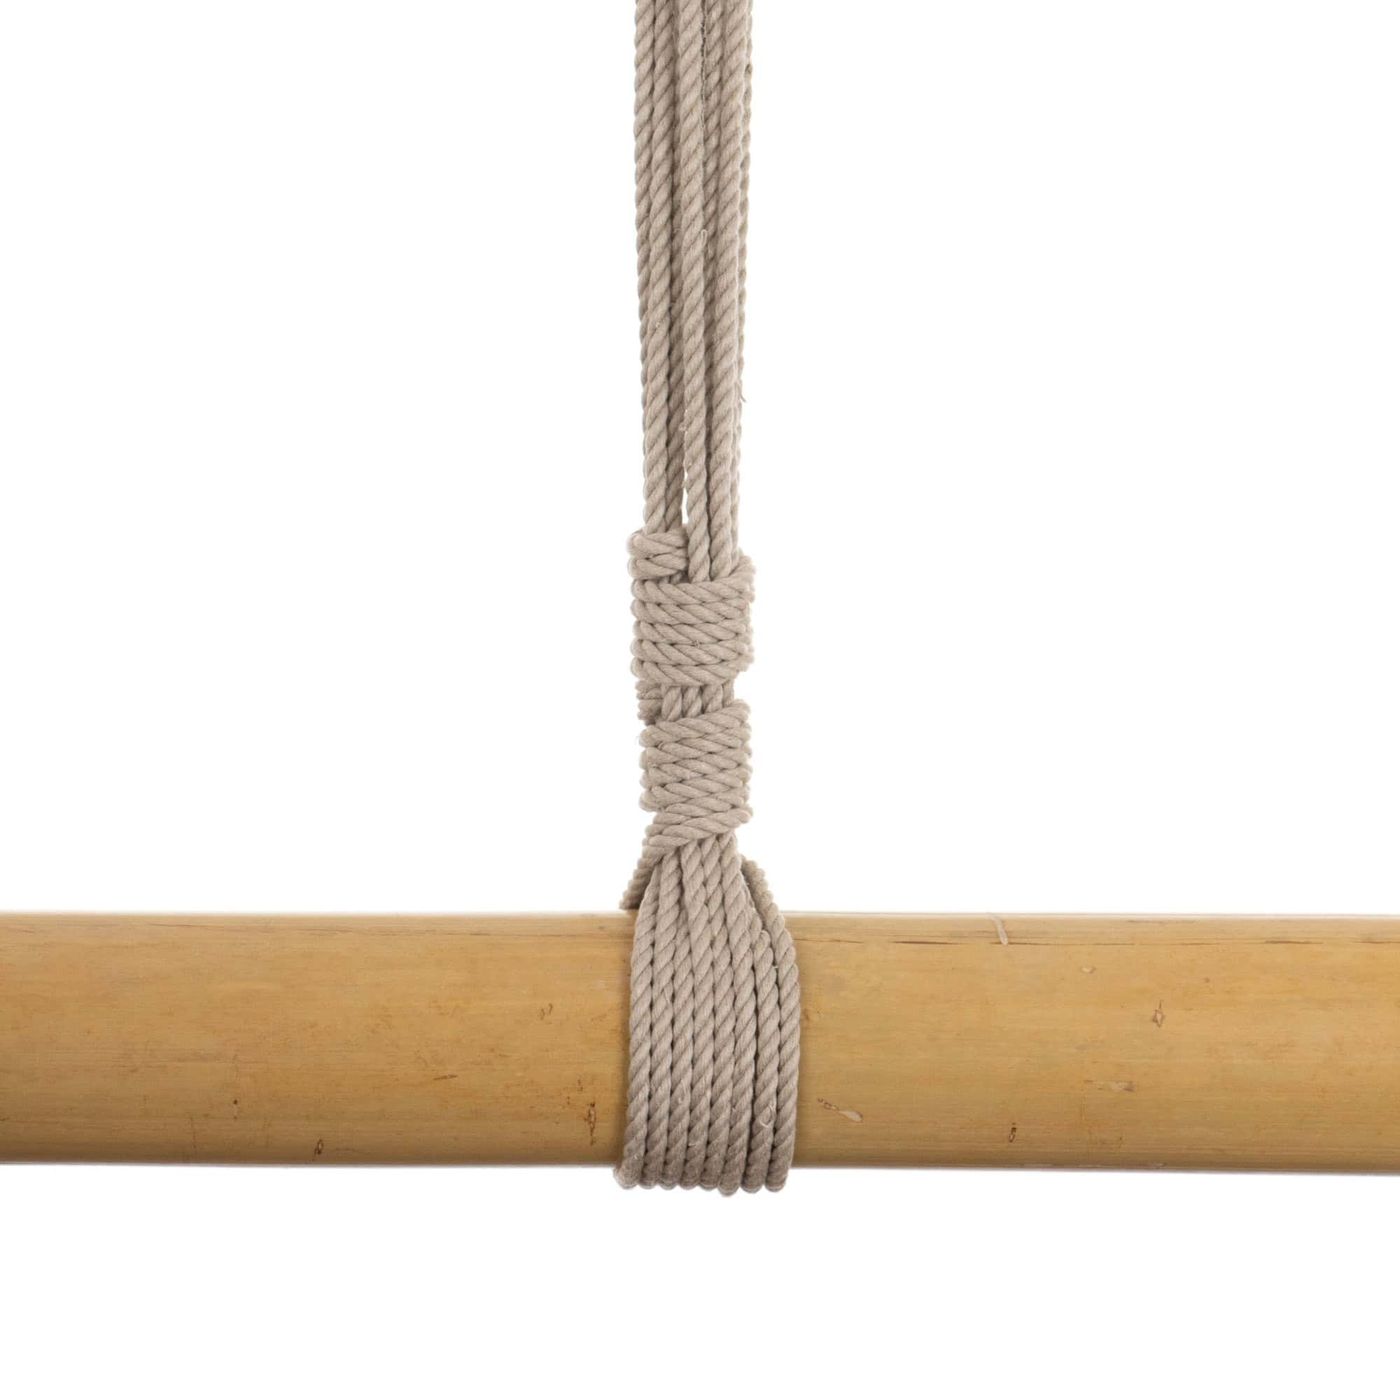
Here are two techniques that work well to anchor a horizontal pole of bamboo or a pipe, etc. to overhead hard points. You will need two hard points to connect to, one for each end of the pole. You also don’t want to place the anchors too near the end of the bamboo. This picture should give you an idea of good placement.

Video - Vine
Pictures & Text - Vine
The Vine Technique
This version uses the same technique we discussed in the Frictions for Hard Points tutorial, just upside down.
Begin with a Lark’s Head around the bamboo
Place your forefinger through the hard point
Run the upline over top of your finger
Turn your palm face up and hook the tail
Pull the tail through
Run the tail down to the bamboo
And around
Run the tail back up to the hard point
And through using the same technique shown above
Make sure that your uplines are parallel and have even tension
Bring the tail back down to the bamboo and around a second time
I happen to have quite a lot of rope left over so I have two options to use it up before I lock this off with the Vine
One method to use up a rope (if you have a lot)
If you have enough rope to go back up to the anchor point and back down again with enough left over to lock it off with a vine, you may as well do that. Using up rope with long runs is far more efficient and fast. So in this case I have run it up to the hard point one more time. Note that this time because my hard point is relatively narrow, I do need to lay this run on top of the others; this is OK.
Then back down and around the bamboo with third time. Now I am left with all the 1-2’ (30-60cm) left, which I will use to lock it off
Bring the tail around the top of the bamboo, and across the front of all the cords.
Reach behind the center line with the other hand to grab the tail and continue wrapping around the entire bundle of cords that make up your upline
Use your other hand to hold the center line steady so that you can pull the tail very tightly as you wrap it
If you need to switch your grip, feel free to do so
Once you have two or three firm wraps all the way around all the uplines…
… Put your fingers between half of the ropes as shown
Grab the tail
And pull the tail through the middle of the ropes
Pull that new wrap tight and then push it down into the previous wraps
So it is very firmly seated
Then continue wrapping
Again, hold the center line with your other hands you could make the wraps very tight
Adding this interstitial dramatically increases the friction of this technique and it protects the wrap from working itself loose if the hard point is on a pivot or swivel
After you have made a few more wraps you could add another one going in between the uplines. But if your ropes have knots at the end like mine do, this is also a nice way to end off the wrap.
Again reached through the cords, it can be a different set than you used the first time...
And grab the tail
And pull it through. If your rope ends are uneven as you see here, just do it again
Reach through the middle of the ropes again to grab the remaining tail
And pull it through. Done!
The more force that is on this arrangement, the more the upline cords will grip the ends of the rope running through them
Now, if your ropes do not have a knot at the end like mine do, or if you would just like to add a bit of additional security, you can use the same technique in combination with a Half-Hitch to lock things off even more strongly.
To do this, put your fingers between the uplines and then run the tail over top of those fingers…
… Then grip the tails
And pull them through.
Tighten. This arrangement is extremely stable under load.
Even though in this case I show a picture where I pull the tails all the way through, if you have enough rope, you can consider pulling just a loop through so that you have a slipped Half-Hitch. This will be much easier to untie
If you happen to have a little bit of rope left over, just use it up by vining it through the middle again. Run your fingers through the rope
Grab the tail with those fingers
Like this
And then pull the final bit through
Done!
Under heavy load you may notice some tendency to twist or deflect (note that my anchor point has twisted somewhat under load), but that should not affect the strength of this connection
An alternate way to use up extra rope. Useful if you don't have enough to make another entire run.
So I’m starting back with step 13
I have a lot of rope to use up, but this time instead of running all the way back up to the anchor point, I will use up another way
This time I’ll run it over top of the bamboo
This is a sort of repeating Lark's Head technique
Then reach around the center line to grab the tail
Wrap that tail around the center line to the other side of the bamboo
Then underneath the bamboo
And around the top of the bamboo on the same side
Then across the strands of the bamboo again
…
And then down the other side
Then around the bottom of the bamboo
And continuing this same pattern until only have 1-2’ (30-60cm) left
Now I can’t lock it off in exactly the same flying technique that I used above
This is going to be repeat. If you understood the above version, you are good to go. If you’d like a second view of it, here you are!
Run the tail around the center line again, wrapping it twice
Gripping the wraps that you have made, pull the tail very tightly to seat your ropes
Continuing to hold the centerline, wrap one more time again tightly
Somewhere above your wrap (where the ropes are looser and easier to work with), put your fingers between the two sets of cords
Slide those fingers down and grab the tail
Pull the tail through between the two sets of uplines
Pull the tail tightly and then using your other hand push that new wrap down into the wraps you are already made
Make sure this new wrap is seated very firmly and tightly
Should look like this
Make another wrap or two above the interstitial
Then grip the center line and pull the tail very tightly to seat the next set of wraps
Again, push those wraps down into the wraps you’ve already made
You now have a very firm grip both above and below the interstitial which adds a significant degree of additional friction to your knot
If you happen to have more rope, you can repeat this same thing more than once (although I’m not going to talk you through it this time)
…
…
…
…
When you get to the end of your tail, lock it off. If you have knots in the end of your rope, you can do so simply by running the tail between your uplines
…
Like this
Done!
If you do not have knots in the end of your rope (or just have a personal preference), you can lock this off with a Half-Hitch as is shown above in ending version 1, Steps 36-40
Video - Single Column + Half Hitch
Pictures & Text - Single Column + Half Hitch
The Single Column + Half Hitch Technique
This version uses the classic Square Knot Single Column to grip the bamboo and the same technique we discussed in the Bamboo Suspension Friction tutorial to lock things off.
Start with a Single Column around a piece of bamboo
We will start with a classic Single Column around the piece of bamboo
Wrap around three times, being sure to keep the cords parallel (not twisted or lying on top of each other)
We need a little space between the ropes and the bamboo to work. So I’m going to slide my fingers underneath the cords
(In practice, you typically will create your wraps with your fingers in place already. I did it this way to make it more clear what is happening in step two)
Lay the bight over top of all the wraps
Reach under the wraps from the other side to hook the bight
And pull it through
Now lay it over top of the wraps again…
… be sure to lay it over top of itself as well
We have been ignoring the tail up until now but here it is
Now pick up the tail with your palm down
And flip your hand over to create a loop
Reach through that loop
To grab the bight
And pull the bight through the loop
Tighten
You now have completed the Single Column around the bamboo. But we are not going to use it just like this
Now you will see some readers use of this loop as part of the suspension up line itself. When used like that, it is called a lift loop. There is nothing wrong with that approach, but it is not one that I prefer. So, since we are not going to use it for suspension directly, let’s lock it off so that it cannot come untied without releasing the tail. To do that, reach through the loop of the bight….
…Grab the tail
…And pull the tail through the bight.
We are not going to be relying on the strength of this knot to support our bamboo, but this is good practice anyway just in case
Creating the up line
Notice that we tied the Single Column with a bit of space between the bamboo and the wraps. We’re going to need that
With your hand palm down, put your forefinger through the hard point and run the tail up and over top of that finger
Then flip your hand and hook the rope, then pull it through the hard point
Bring the tail back down to your Single Column
Reach underneath the Single Column with your other hand to hook the tail
And pull the tail through
Again put your finger through the hard point and then run the tail up and over top of that finger
Hook your finger and pull the tail through the hard point and come back down to the Single Column
Again reach under the Single Column with your other hand to hook the tail…
…and pull it through. Throughout this process of creating the up line, keep your cords parallel and evenly tension. You don’t want them laying on top of themselves or being twisted if you can avoid it
Locking off
There are many ways to lock this arrangement off. (Don’t do this now because I’m going to show you in different technique, but we could use the “vine” technique just as a shown above.) To do that we would begin wrapping around the center line…
(Again, don’t do this now. It is just shown for context) …Wrapping around a few times and then going between the cords, and continue wrapping etc.
But let’s do this a different way, using the same technique we use for a bamboo suspension friction. So, resetting my position to where I was in Step 29, my left hand is behind the center line and is holding the tail on the opposite side of the center line from my body.
With your right hand, grab the tail between the Single Column and your left hand
Pull the tail toward you with your right hand. Your left hand may allow the tail to slide a little but should not let go. You will form this upside-down “number 4” shape
With your left hand, bring the tail around the back side of the center line
Feed the tail to your right hand
Maintaining tension on the tail with your left hand, hook the tail with your right forefinger and pull the tail through
Pull the tail all the way through and maintain tension with your right hand
We now need to tighten this half hitch. Using your left hand (the right hand is busy maintaining the tension), grip the entire centerline (including the tail) below the half hitch…
And slide that left hand upwards to tighten the half-hitch
With your hand palm down, put your forefinger through the hard point and run the tail up and over top of that finger. Then flip your hand to hook the rope and pull it through the hard point
Maintain tension on the tail using your right hand.
With your left hand, reach behind the center lines
Using your right hand, feed the tail to your left hand. Your left hand now grips the tail maintaining the tension
Put your right forefinger between the center line and the tail
Twist your right hand so that your forefinger points straight up, and hook the tail with that finger. Pull the tail toward you with your right hand. Your left hand may allow the tail to slide a little but should not let go. You will form this “number 4” shape
With your left hand, bring the tail around the back side of the center line
Still using your left hand, lay the tail on top of your right forefinger
Maintaining tension on the tail with your left hand, turn your right hand so that your palm faces the center line. You can now a form a hook with your right forefinger…
…and pull the tail through the half hitch to form a small loop
We now need to tighten this half hitch, and we are going to do so by sliding the entire half hitch down. Don’t try to move any of the rope downward quite yet, but let go with your left hand
(which I am using the signal the downward direction 😊)…
…and grip the entire centerline (including the tail) above the half hitch. Then slide your *left* hand downward on the centerline to tighten the half hitch.
Your right hand does not make the loop larger; it just goes along for the ride, maintaining the loop and the tension while the left hand slides down, tightening the entire assembly… Tighten it very tight.
This knot is now sufficient to hold the tail in place so that the friction above maintains a lock on all the cords of your up line.
If you have rope left over, you can use this same trick to quickly use it up. See the Bamboo Suspension Friction tutorial for the technique.
Gravity is now working in our favor and not fighting us to keep this knot tight
Notice with this technique that any force on the bamboo is distributed across six strands of the cuff …
…and then at least 6-8 strands in the upline.
Comments
Loading comments...
Sign in to leave a comment.