Bra (A Mini Course)
This tutorial gives you the building blocks so you can design your own bra!
This tutorial is not really about any one specific pattern. It is about several concepts that you can use as building blocks to make whatever inspires you. Making a rope bra is nothing more than (1) creating a frame around your partner’s chest and (2) filling in parts of that frame with some sort of weave or pattern. There are myriad ways to do this. Below you will find a few common choices.
A tip: Try different shapes and patterns! You may find that a triangle pattern looks great on one person, but just doesn’t seem to work well on another. Perhaps a rectangular or trapezoidal pattern might offer better support and look better.For this tie, I used one 30' (~10m) and one 15' (~5m) piece of Natural 6mm (1/4") hemp provided by my affiliate Twisted Monk. Check them out for some amazing hemp rope!There are more examples of frames and fills in the Picture & Text section below, but this video contains an overview of several of them. You should be able to build smoothly from there!
Video Chapters:
- Bra Frame Concepts - 0:10
- The LI Bra Frame - 1:24
- The LU Bra Frame - 6:16
- The LUI Bra Frame - 7:51
- The LUIO Bra Frame - 10:31
- Bra Fill Patterns - 18:05
- Fill Patterns: Figure 8/Weave - 18:33
- Fill Patterns: Twisted 8 - 22:00
- Fill Patterns: Twisted 8 (Single Strand) - 23:53
- Fill Patterns: Cow Hitch - 26:46
Stage 1 – Create a frame for your bra
You need some framing elements that you then fill in. If you add all 4 framing elements, you can create patterns in any direction you wish.Any of these chest harnesses (these are links to other tutorials) can work!
...or create a custom harness that provides exactly the framing you need:
You can also quickly and easily create a customized harness for any level of breast framing you like. Here I show several options, each built on the one before, each adding one more level of framing. Pick the one that you want based on what type of fill you want to do and in what direction!
I use a little naming convention for the different levels of framing. The letters indicate which element of framing will be created and the order of the letters indicate the order that a given element is added when tying. (This convention is something that I made up just now for this tutorial, to make it easier to talk about; this is not something in general use by the rope community. You cannot go up to a random person at a rope party and start talking about the “LUI frame”. However, in the examples I show below, if I say, “Start with the LUI frame”, you will know what I mean.)To see this frame being used in practice, check out the LIO Demi-Cup example below.If you would like a vertical fill pattern, you need some kind of upper chest band. That band can run across the entire chest (see below for how to do that) or it could go over just part of the chest. This second option allows you to also have a deep decolletage or V in the center of the chest. Here is one way to add a “partial Upper” (pU) chest band.
To see this frame being used in practice, check out the Twisted 8 LIpU example below.To see this frame being used in practice, check out the Twisted 8 Tube Top example below.This frame picks up where the LU Frame leaves off…This frame picks up where the LUI Frame leaves off…
To see this frame being used in practice, check out the Sunset Harness example below.
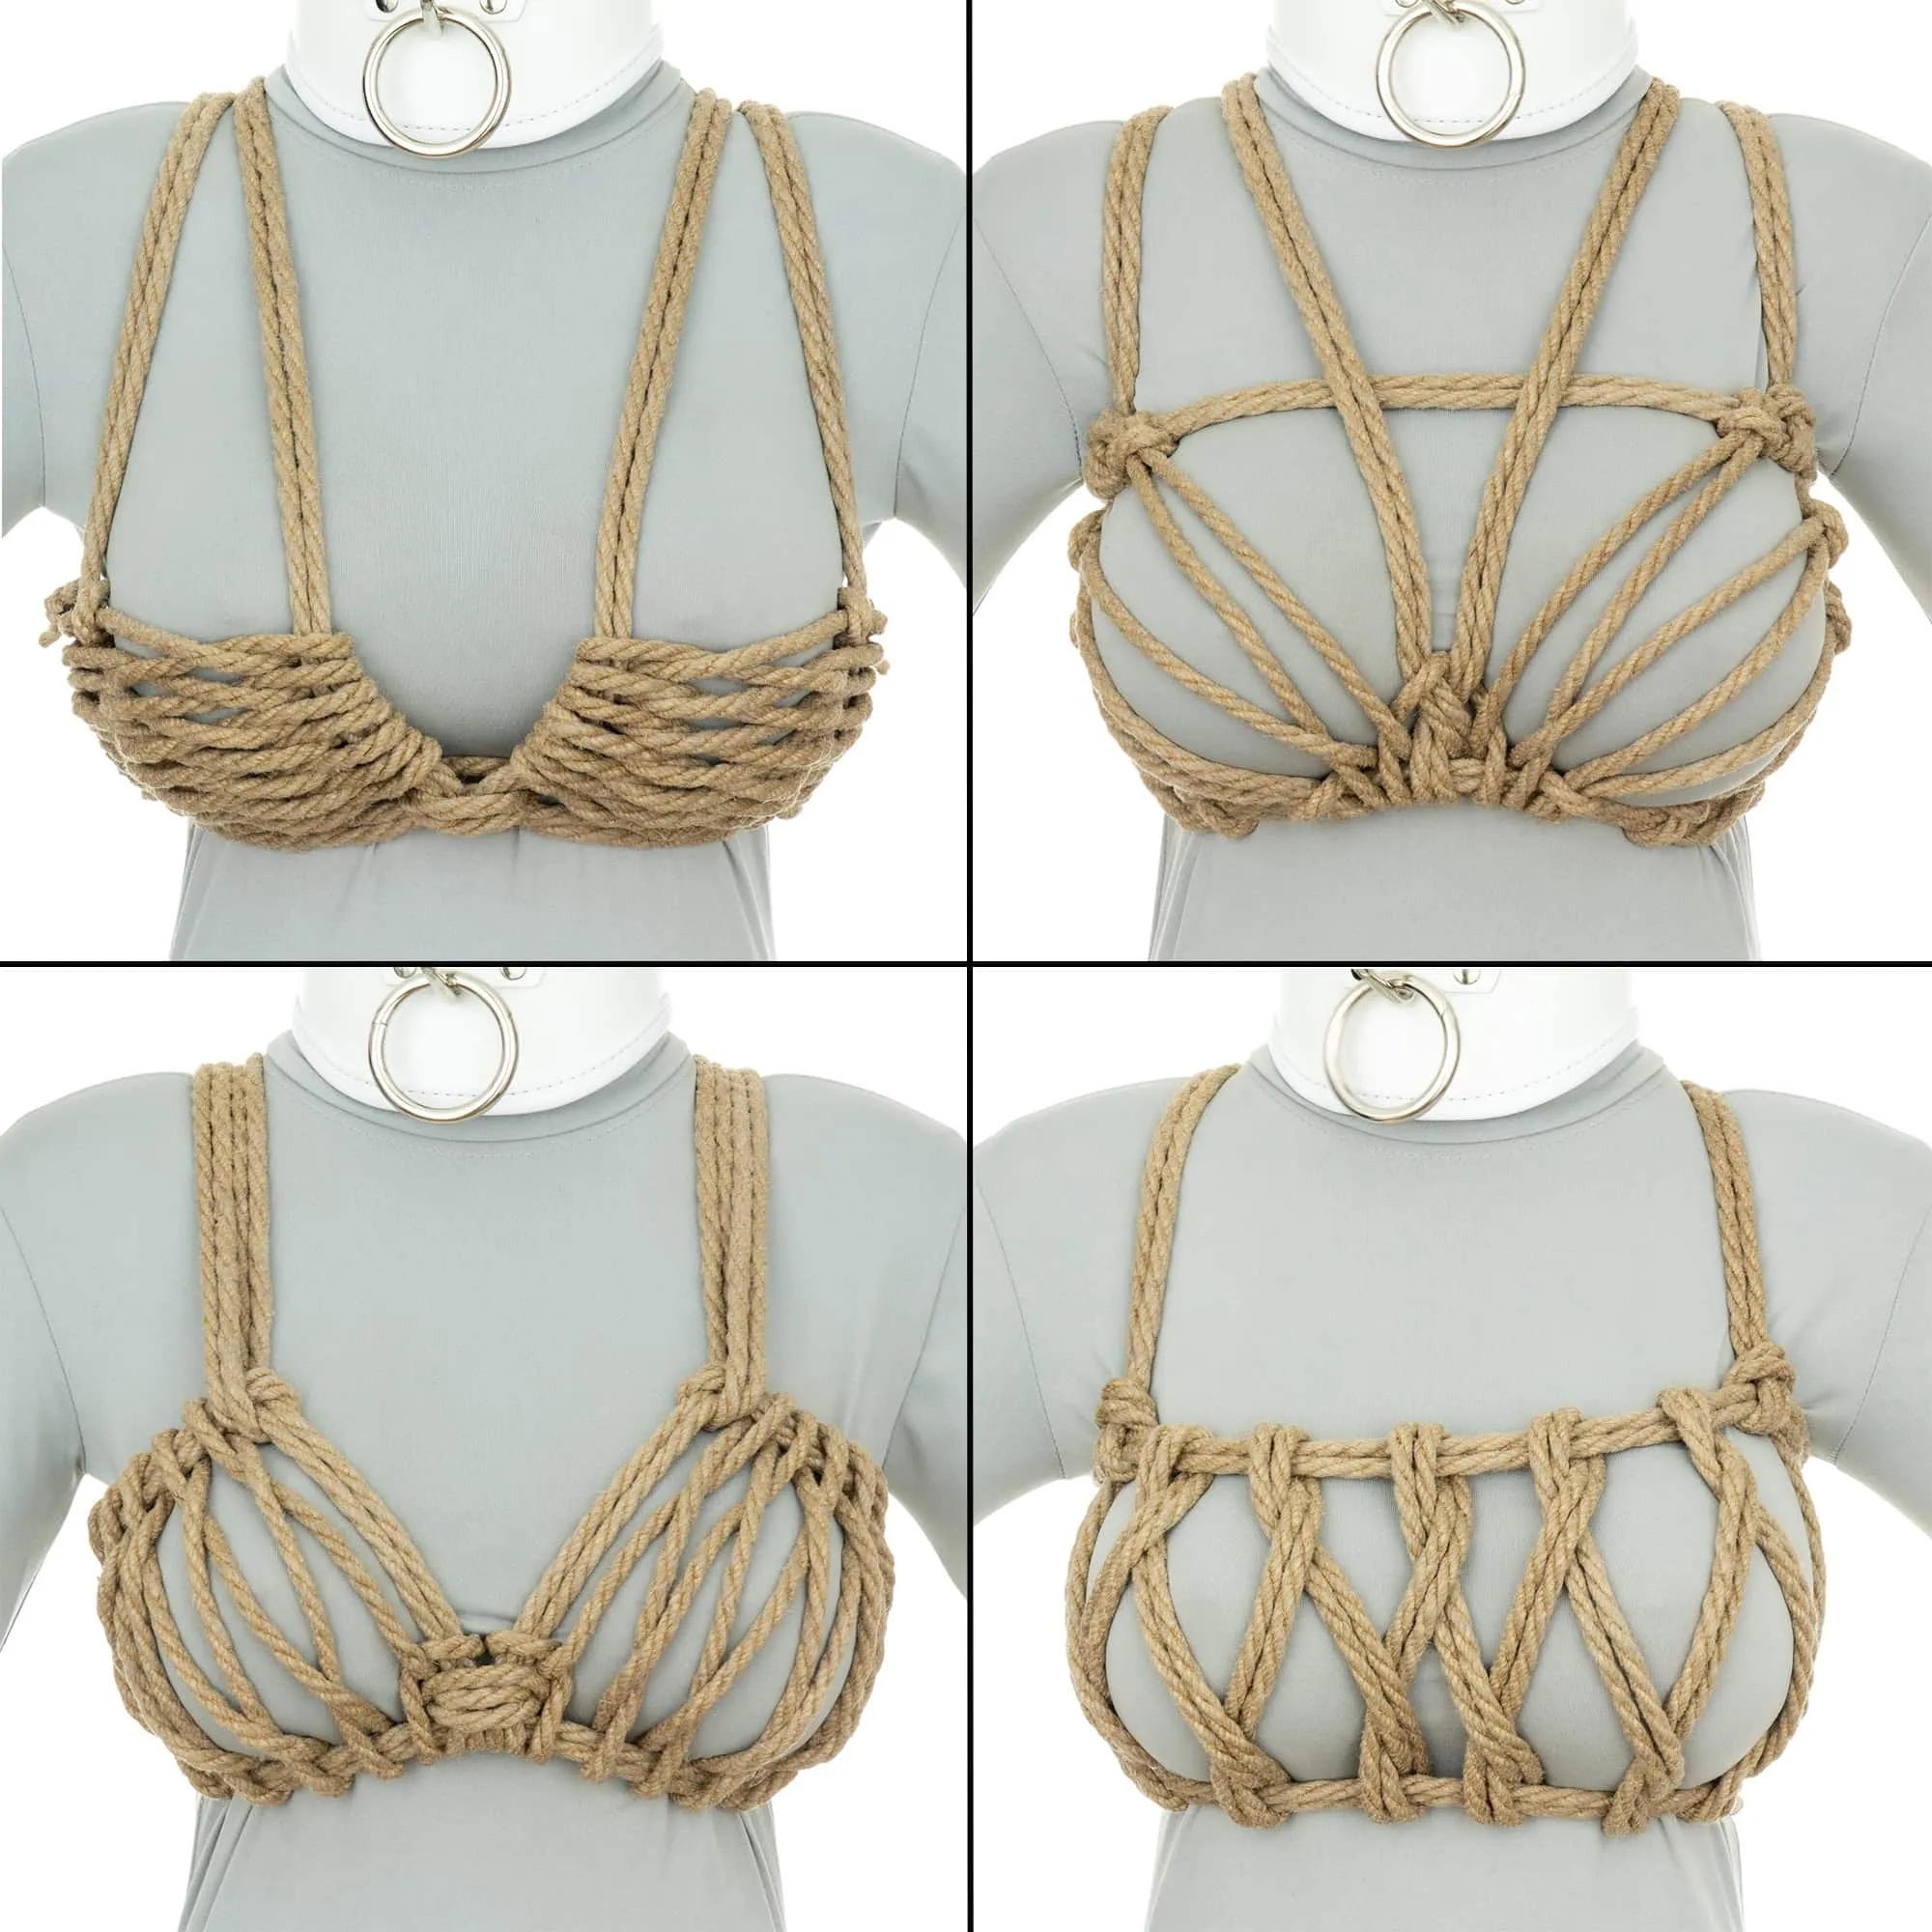
Stage 2 – Fill selected portions of your frame
With your frame complete, you now fill selected portions of that frame with some form of weave or pattern. Here are examples of several common options. You can weave horizontally, vertically or angled. The angle could be sloped into the center line or away from it. You can weave so that the strands are tight together or loose. You can have simple patterns or complex. This is a moment for creativity and exploration! Try and find what you and your partner like best!See Building Blocks – Junctions for more on Cow Hitches
To see this in action, check out the Sunset Harness example belowAttractive and precise, this pattern looks best in single-strand weaves.
Examples
Here are some examples of various finished products for inspiration! If you want some step-by-step pictures on how these were made, see below!